|
||

|
|
||||||||||||||||||
|
|
|
#1
 12-07-2013
|
||||
|
||||
|
It's been a good while since this car has seen any action. This car is an ongoing build in progress and after it's last (and first) run I worked out a few areas that needed more attention.
This car was pulled down more than 12 months ago with the intent to rebuild it and for me to address some areas that required a little more attention. This car was never destined for the shelf as a display only car so it needs to be functional. I'm a huge fan of the box art Boost and I wanted to keep as faithful to the cars original look as possible. No modern day shocks, no modern day arms and no modern day wheels. Ok, so the car will be wearing 2.2" modern rubber for the race track so I had to adopt some Yoke style 2.2" wheels as these were around when the car was on the market. Last time this car saw the light of day all the parts were cleaned and all the metal parts treated to an INOX bath ready for it's rebuild. Until now everything was packed tightly into the kit box but for now it's time to let the parts breath once again.  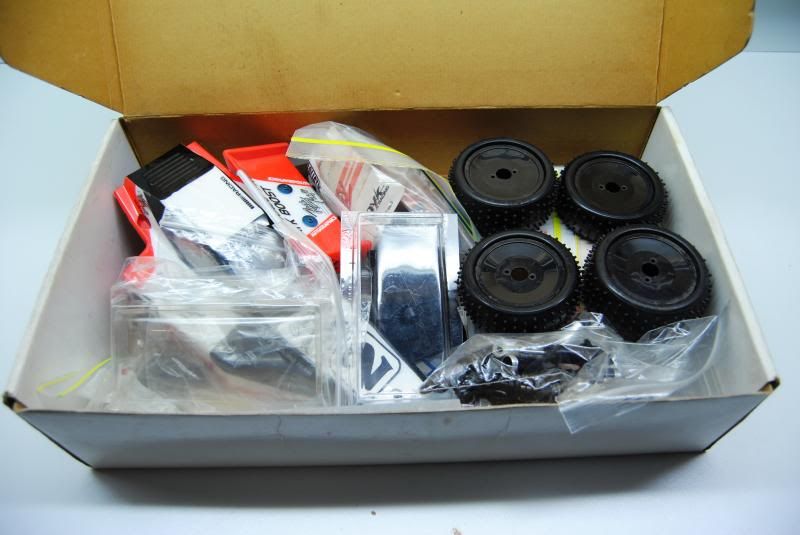 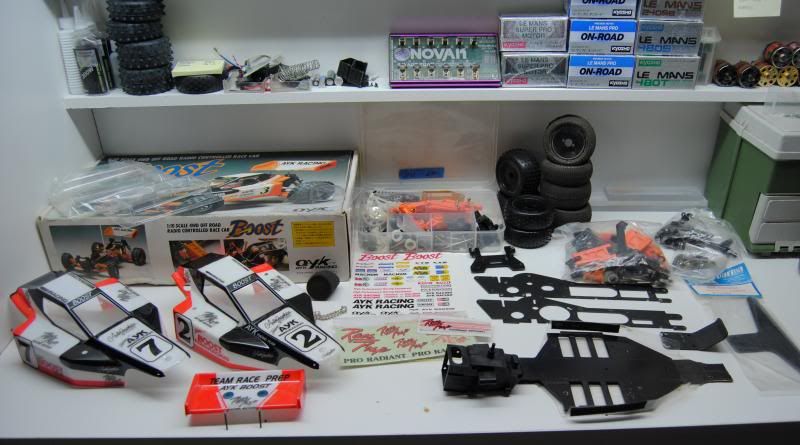 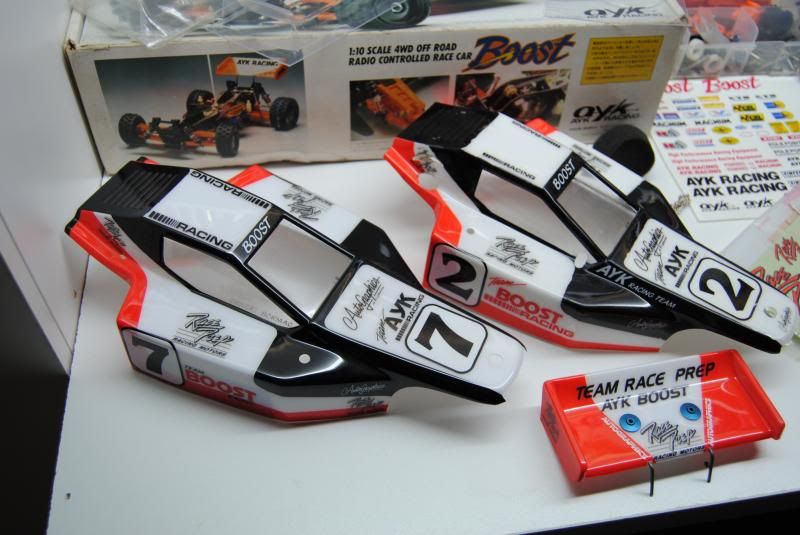  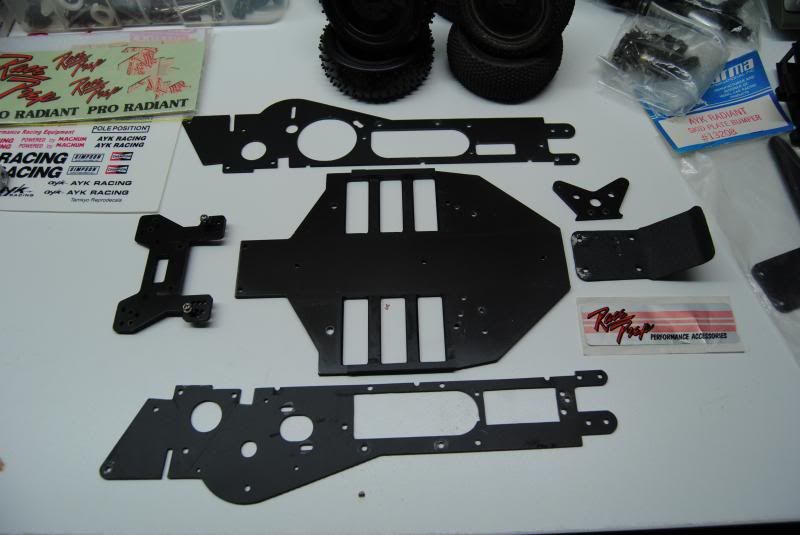 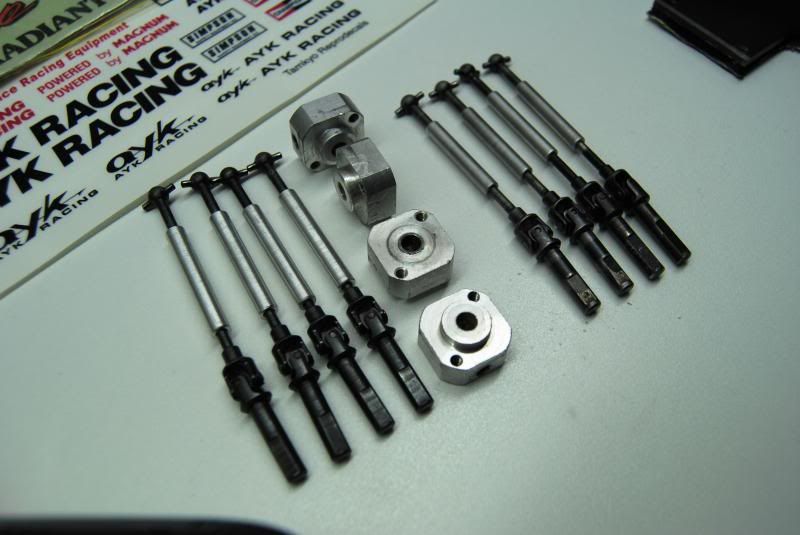 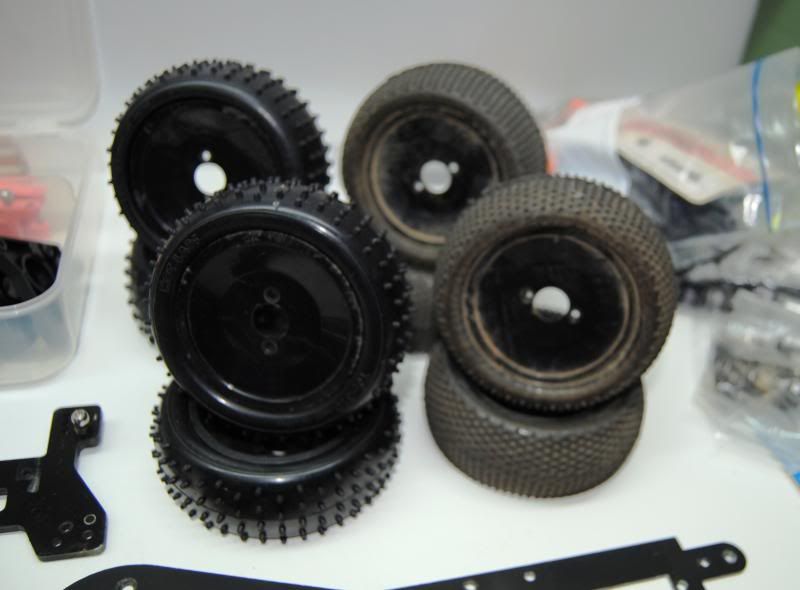
__________________
Vintage R/C nut.  Reliving all the good old days of r/c from the 80's and early 90's. -Jason ***always on the hunt for vintage KO ESC's*** 
|
|
#2
12-07-2013
|
||||
|
||||
|
In the beginning I started with a selection of spares that my good friend Rob (BULLFROG) supplied me. Basically I pieced this car together over time and even borrowed a RACE PREP saddle pack chassis plate from a friend overseas so that I could have it drawn up in a CAD file along with all the other plate work. I had the files modified to suit the needs I had for this car so I dropped the 7th cell from the lower plate plus a few other odds and ends.
From here my good friend Antony from Melbourne helped me out by cutting some fibreglass sheet using the files. Two 1.6mm sheets were glued, pressed and left over night before being cut the following day. Here's are some pics taken as they were being cut... 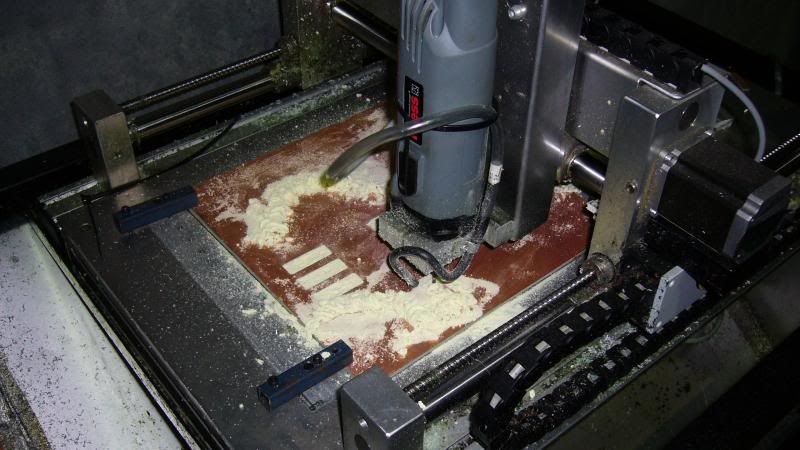 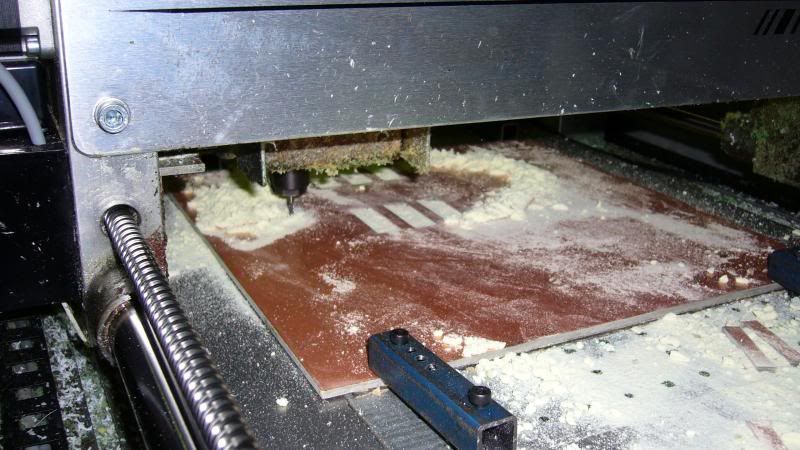 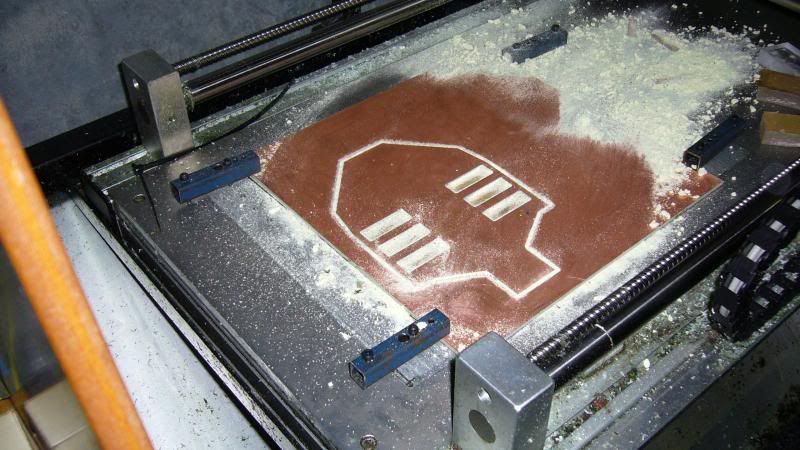 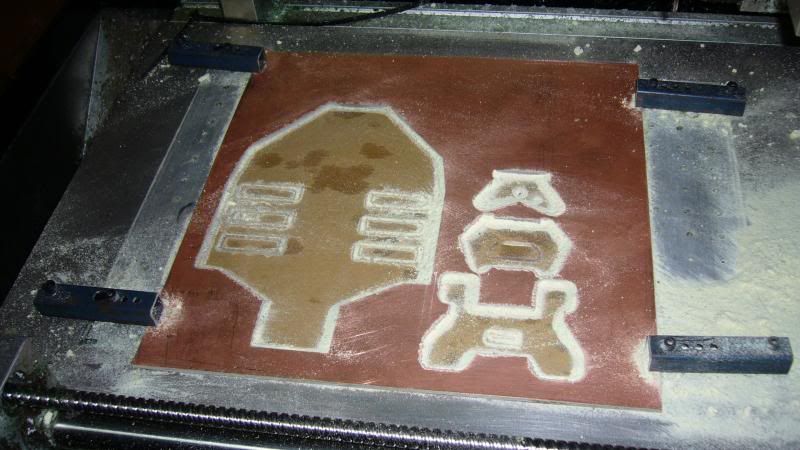
__________________
Vintage R/C nut. Reliving all the good old days of r/c from the 80's and early 90's. -Jason ***always on the hunt for vintage KO ESC's***
|
|
#3
12-07-2013
|
||||
|
||||
|
Hi Jason,
I,m following this build as I would like to get my Pro Radiant up and running, like you I have made a race prep copy lower chassis. The drive shafts that are in the photo,s are they Yokomo? If so what length have you made them and how have you joined them together Ken
|
|
#4
12-07-2013
|
||||
|
||||
|
I remember this car, superb and know your going to make it look mint. Keep the pics coming mate.
__________________
www.kamtec.co.uk www.fibre-lyte.co.uk answer-rc.com/uk/en/ Answer UK team driver Designer of the Lazer ZX/ZXR carbon fibre tub chassis Designer of the Lazer ZXRS
|
|
#7
12-07-2013
|
|||
|
|||
|
Jason,
Looks like another envious build... I restored a AYK radiant, but ran into problems with the stock shocks which keep leaking. Reading about this, I now understand is a recognised problem. I'm replacing mine with Kyosho golds. Will you replace the shocks if you run?
|
|
#8
12-07-2013
|
||||
|
||||
|
Gorgeous I really want a boost.
Bring it to show me when we catch up! Dan 
|
 |
| Thread Tools | |
| Display Modes | |
|
|


 Hybrid Mode
