|
||
|
|||||||||||||||
|
#1
|
|||
|
|||
|
Hello,
So, i've got Ansmann XT Pro 2wd Stadium Truck KIT. Model is going to be used for training with mild brushless system (540, 30A, 3500kv). Since I am a beginner, I am racing in standard class with my modified Mad Rat (with 23T brushed motors). Servo is going to be a budget HXT 10kg with metal gears from HobbyKing. Tyres: rear Proline Caliber, front Proline Ribbed. Batteries: various lipo from HobbyKing and LRP Ni-mh. Also I won't be using stock dished rims. I will use some shiny HPI stadium truck rims  I just absolutely love building kits, because they create half of happyness of this hobby  I got it very cheap here in Lithuania (about 70 pounds). I like the model because of its nice features: quality aluminium shocks, carbon fiber reinforced plastic, adjustable turnbuckles, rubber shielded ball bearings and so on. Model comes without tyres and with clear polycarbonate body. I got it very cheap here in Lithuania (about 70 pounds). I like the model because of its nice features: quality aluminium shocks, carbon fiber reinforced plastic, adjustable turnbuckles, rubber shielded ball bearings and so on. Model comes without tyres and with clear polycarbonate body.Box and its contents: 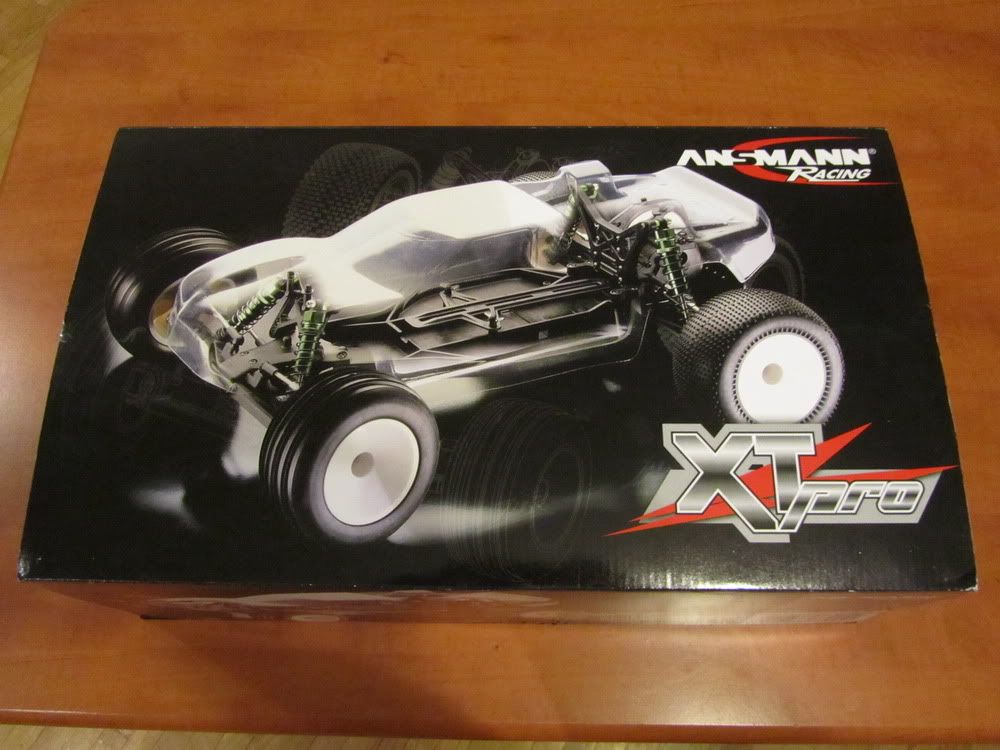 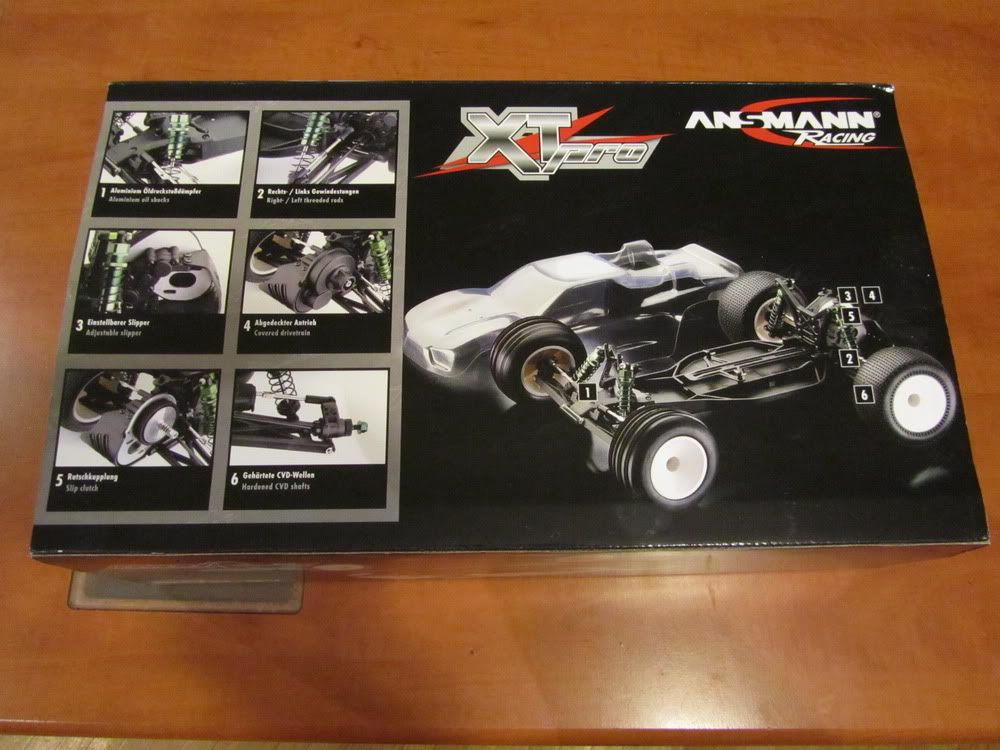 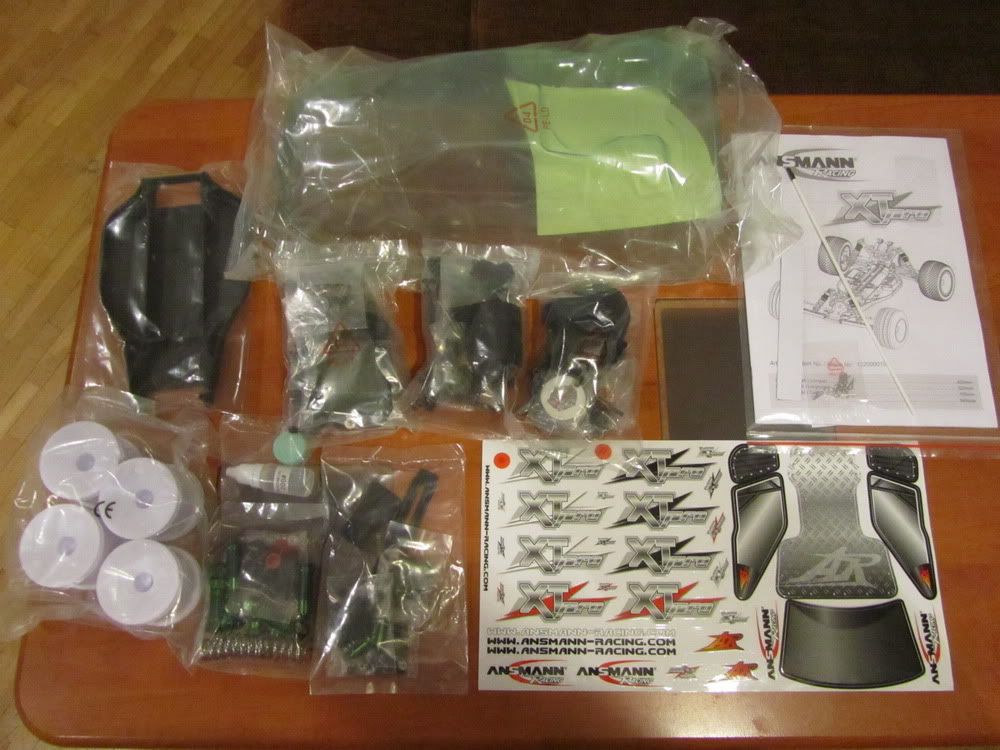 Typical 2wd model front suspension: 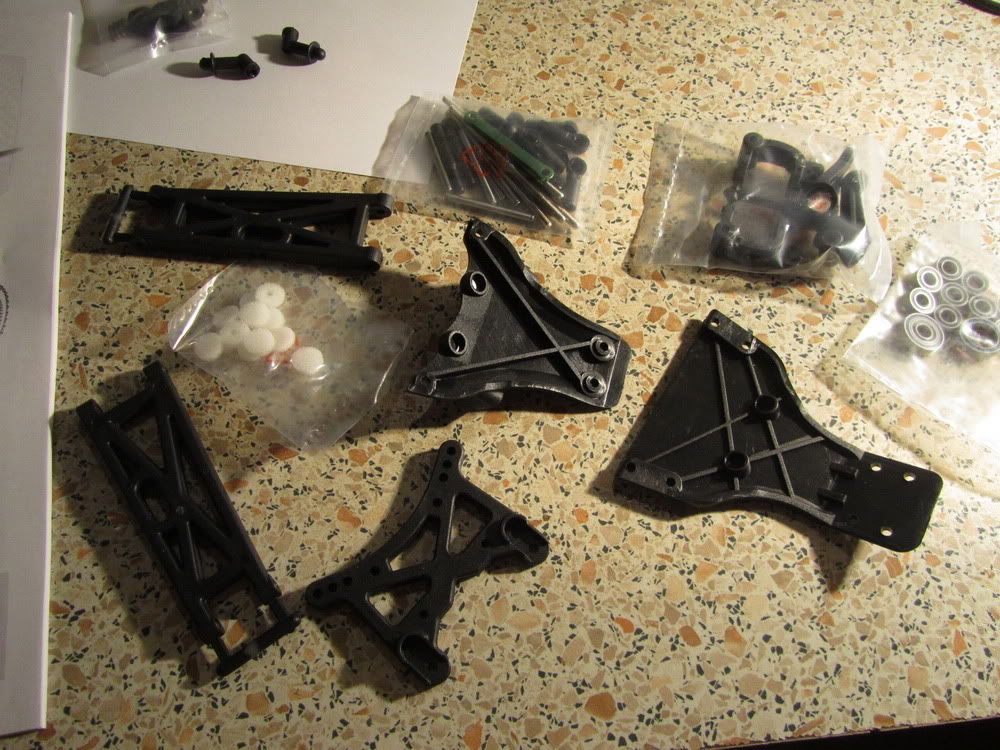 Carbon fiber reinforced plastic:  One of the first problems I got, were the very soft screw heads. I have stripped a lot of them, maybe because I didn't have the top notch screwdiver. I have replaced them with silvery phillips headed ones (since I couldn't find any black ones with hex sockets in my city). I didn't want to order them from ebay, since I can get simple ones three times cheaper in local hardware shop. 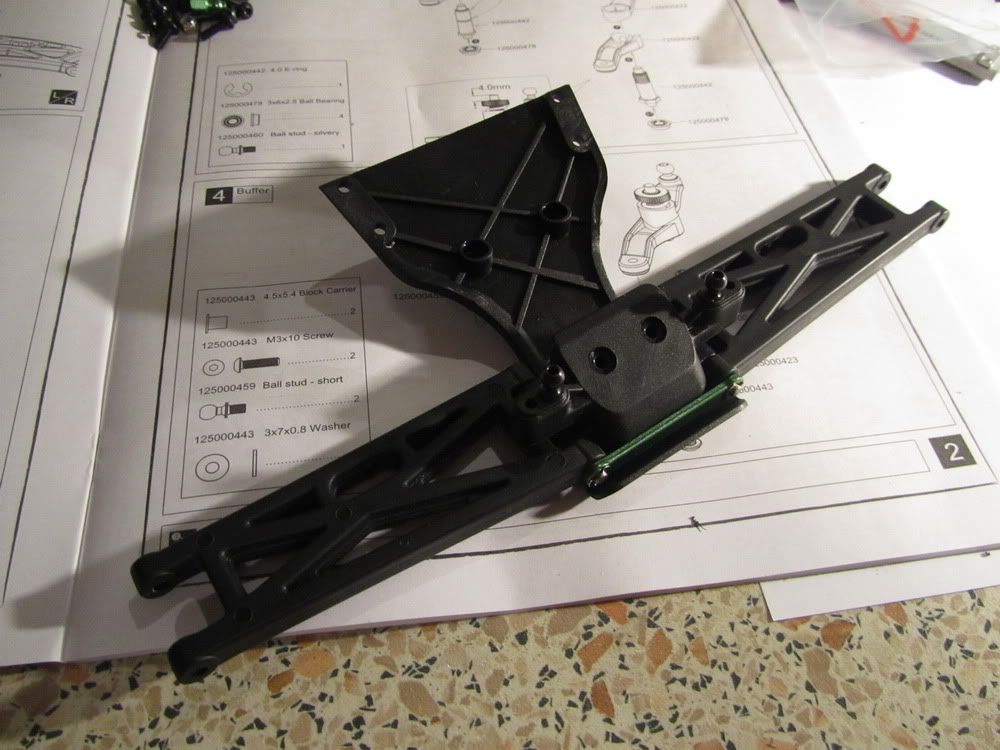 Servo saver - good thing. Alse the steering assembly feels quite strudy.  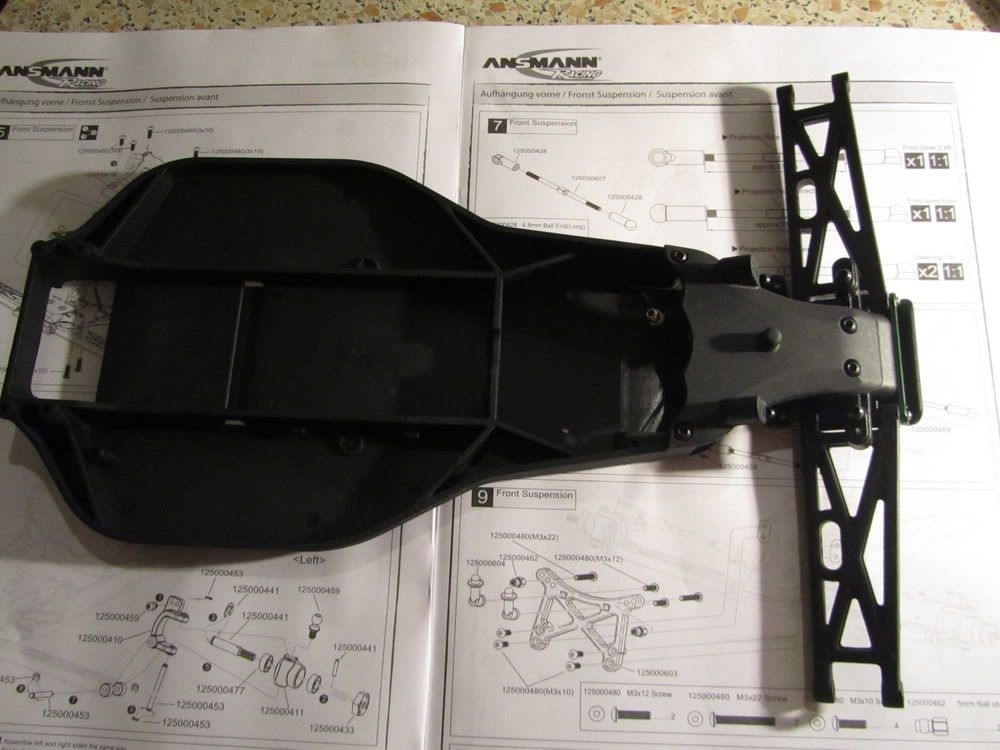 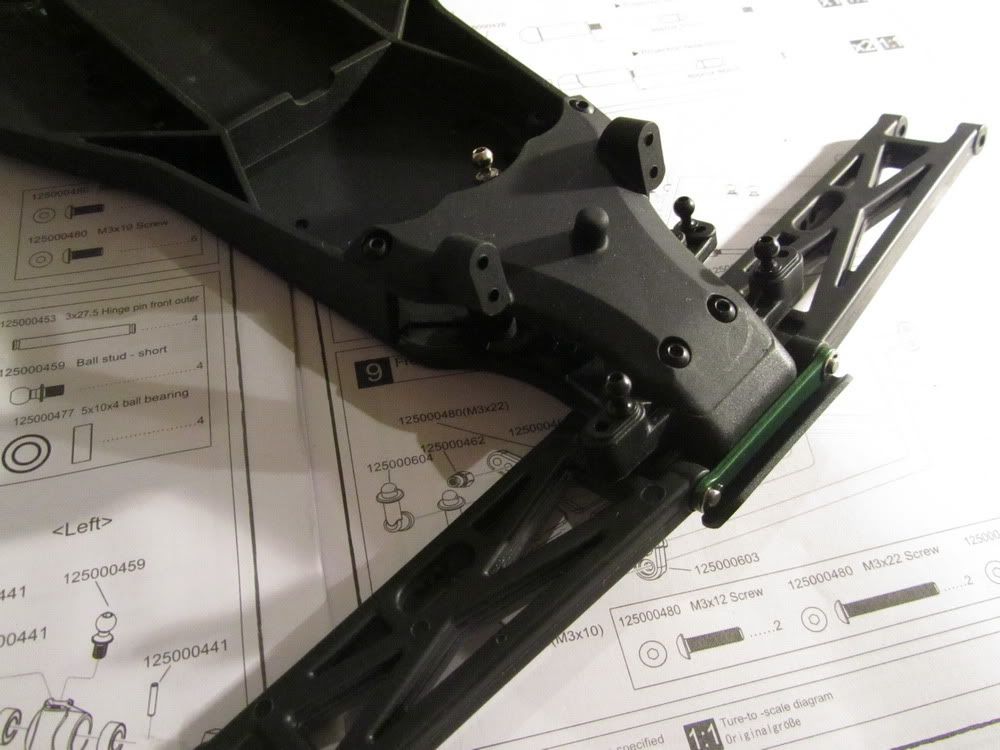 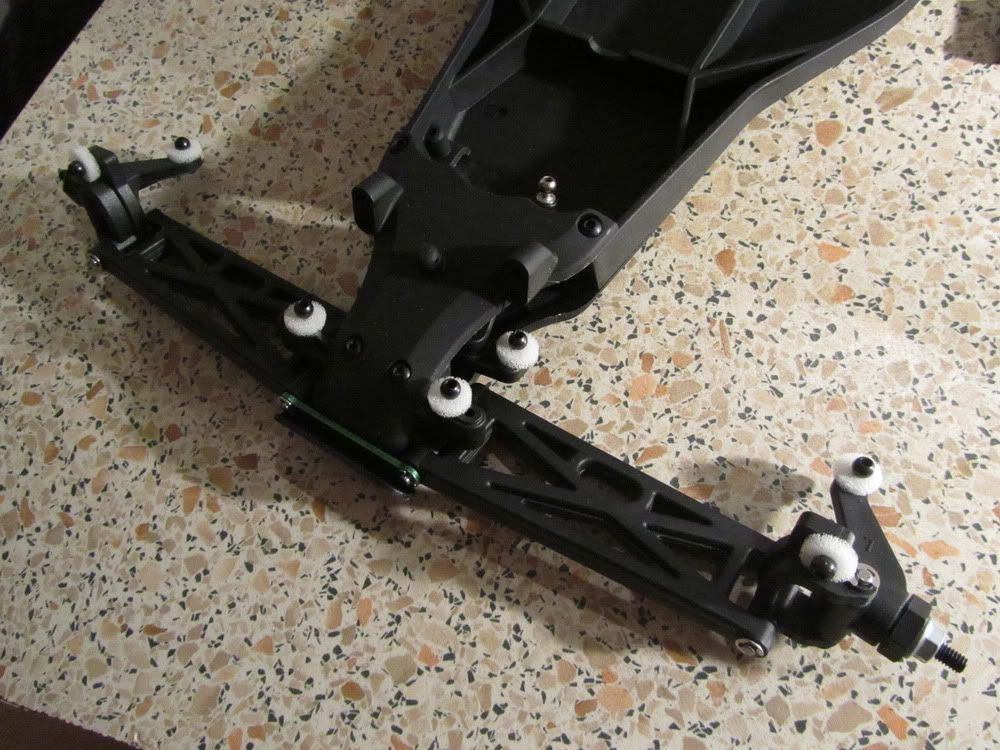 These "pillows" are nice for protecting and cleaning up the ball heads. I would like to get some aluminum hubs and other hop-ups, but they are too expensive. It seems, that Ansmann is not a very popular manufacturer (like AE or Traxxas) and I can't get cheap hop ups from China. So I will leave the stock plastic parts, because the high price won't cover up the benefit. 
|
|
#2
|
|||
|
|||
|
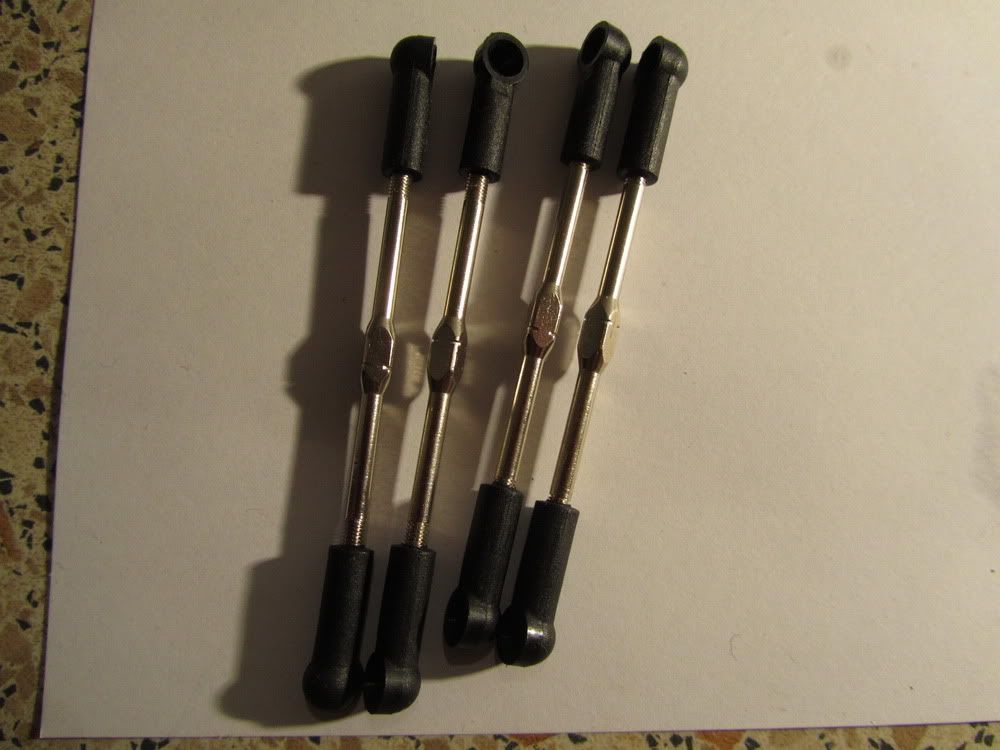
Turnbuckles:
 Front suspension: 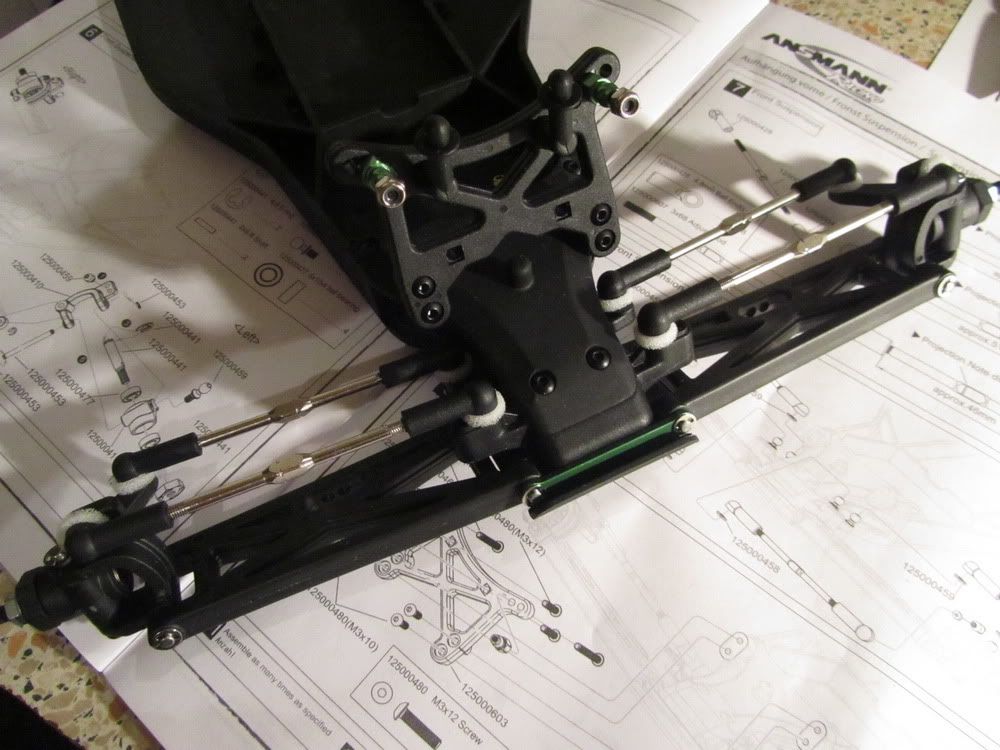 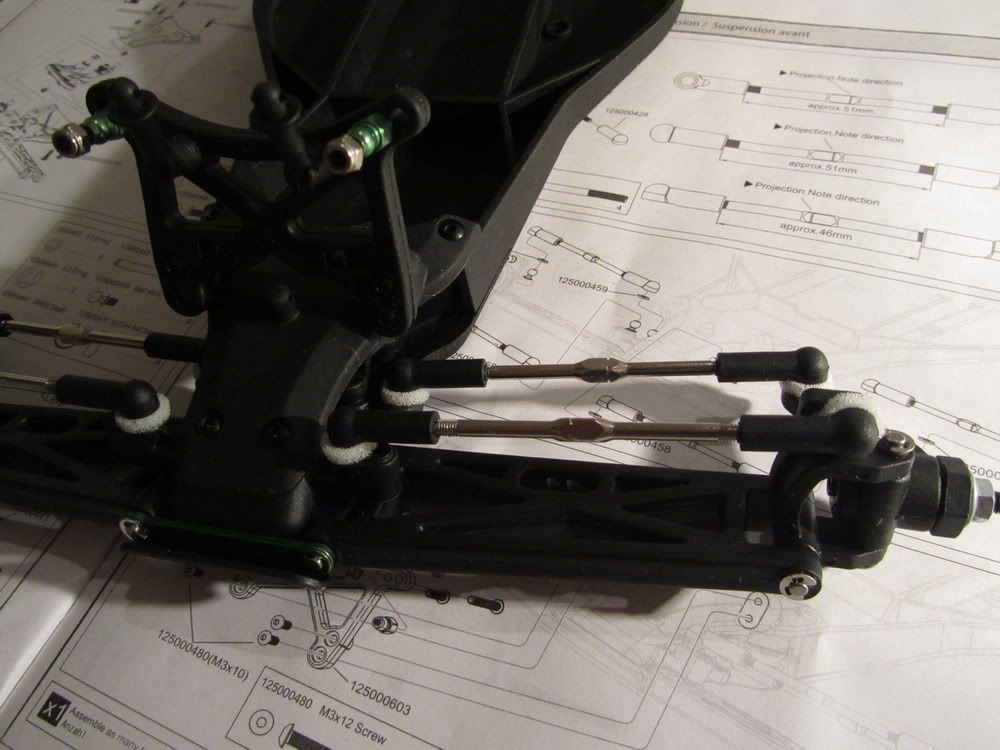 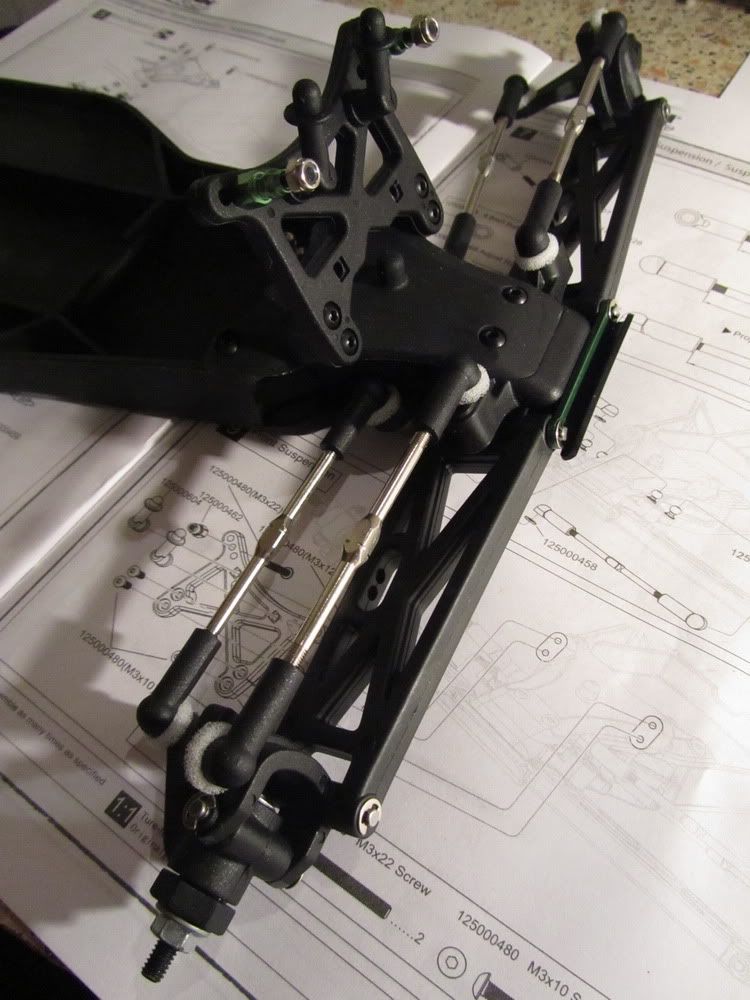
|
|
#3
|
|||
|
|||
|
Pretty good ball diff. Balls are not ceramic, but with the next maintenance, I will put in some ceramic (black) diff balls.
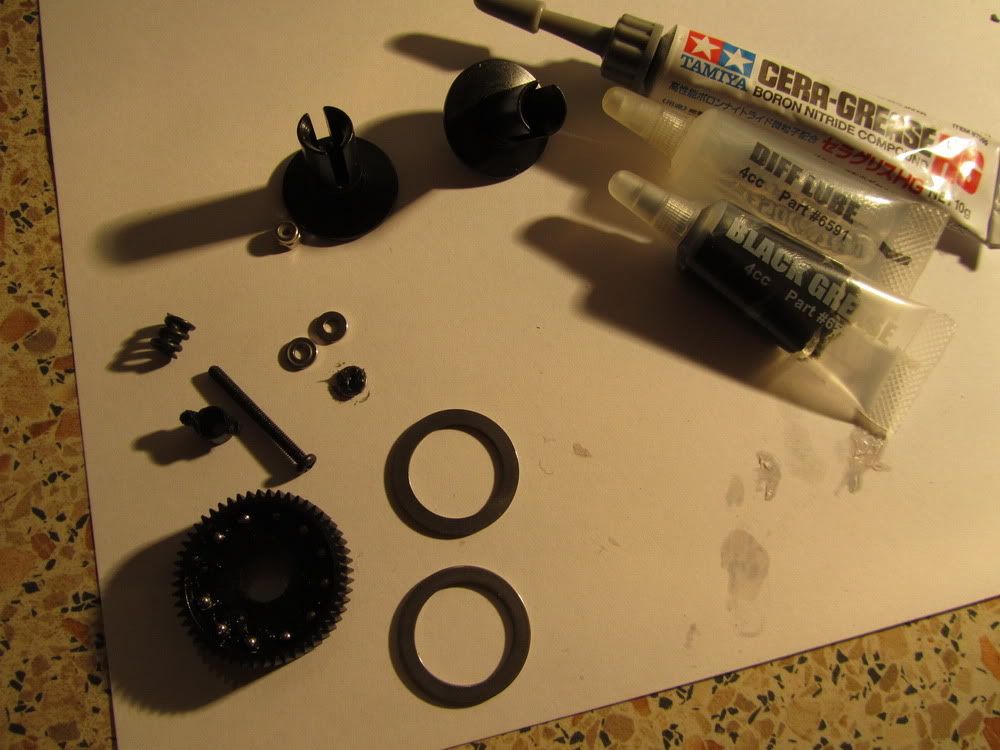 Complete diff: 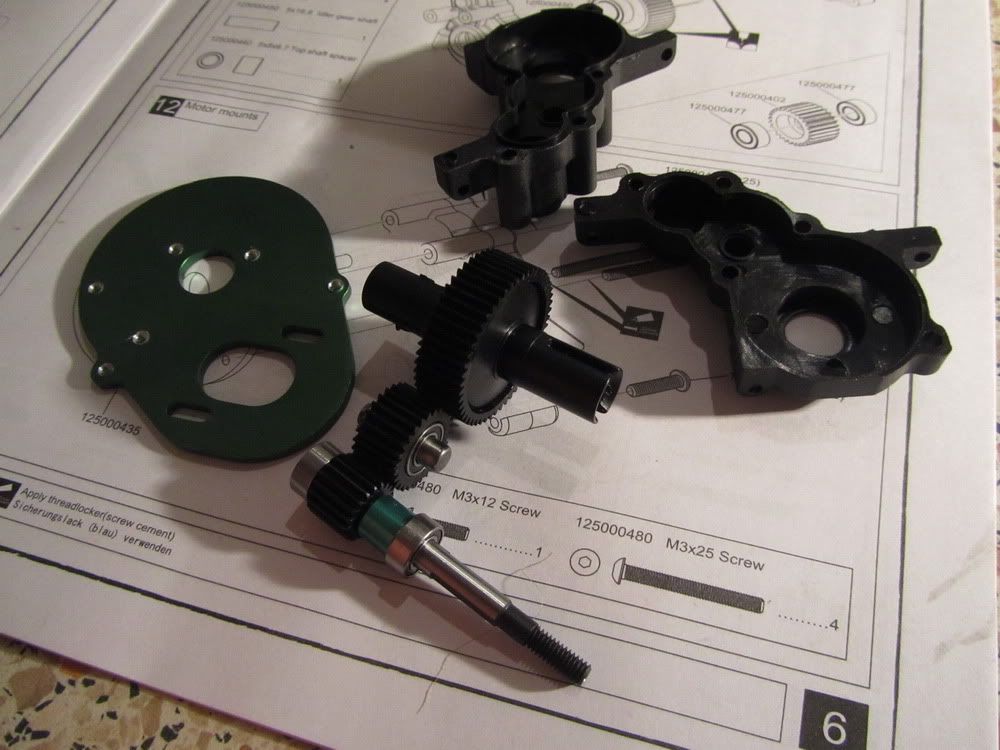 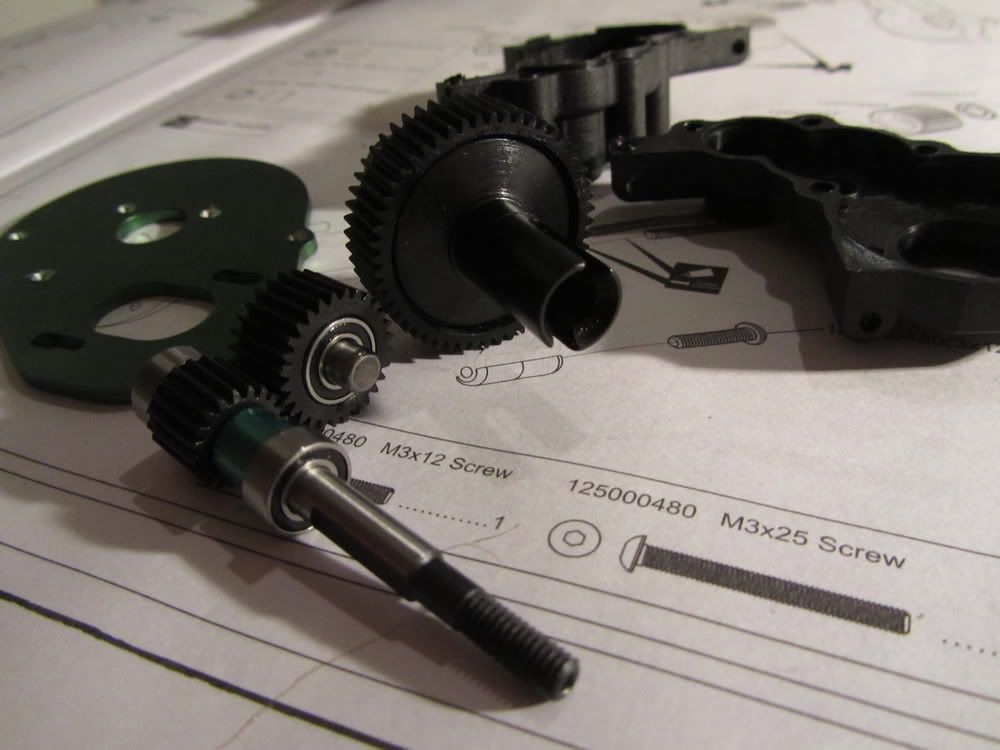 Gearbox: 
|
|
#4
|
|||
|
|||
|
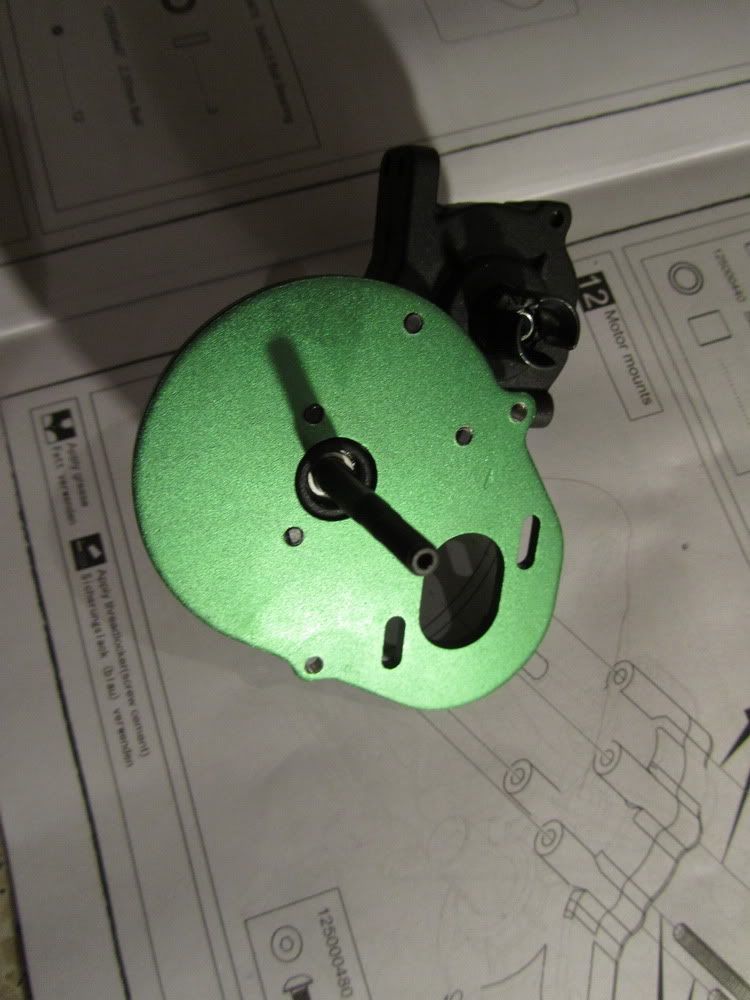
Aluminium motor mount:
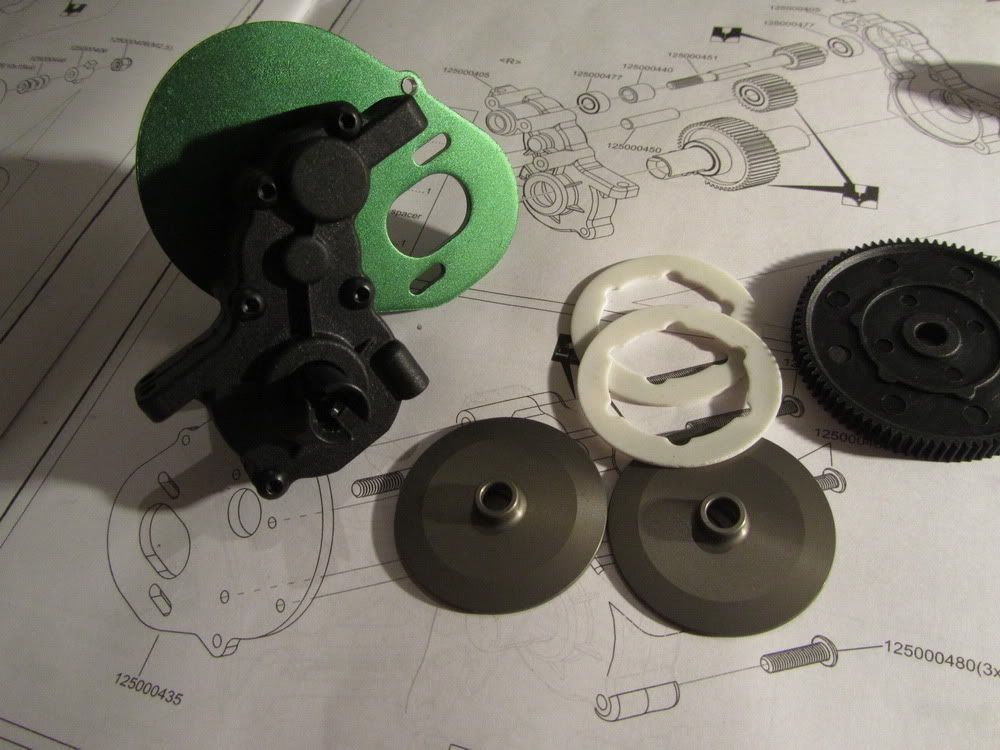  Quite nice quality slipper clutch: 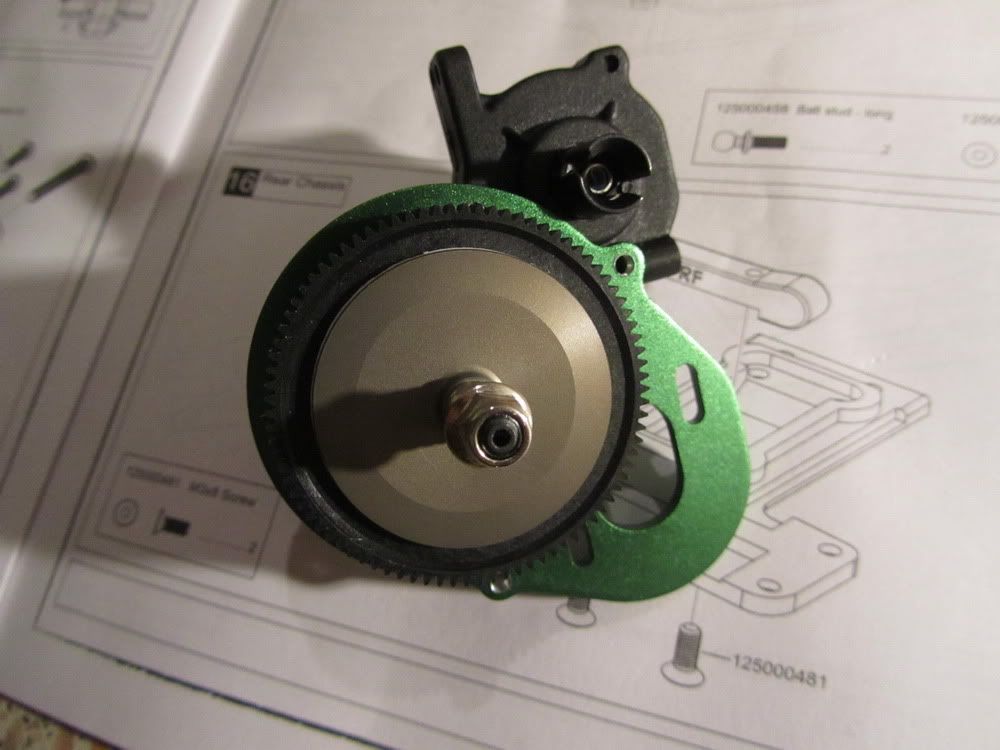 Rear shock tower and braces: 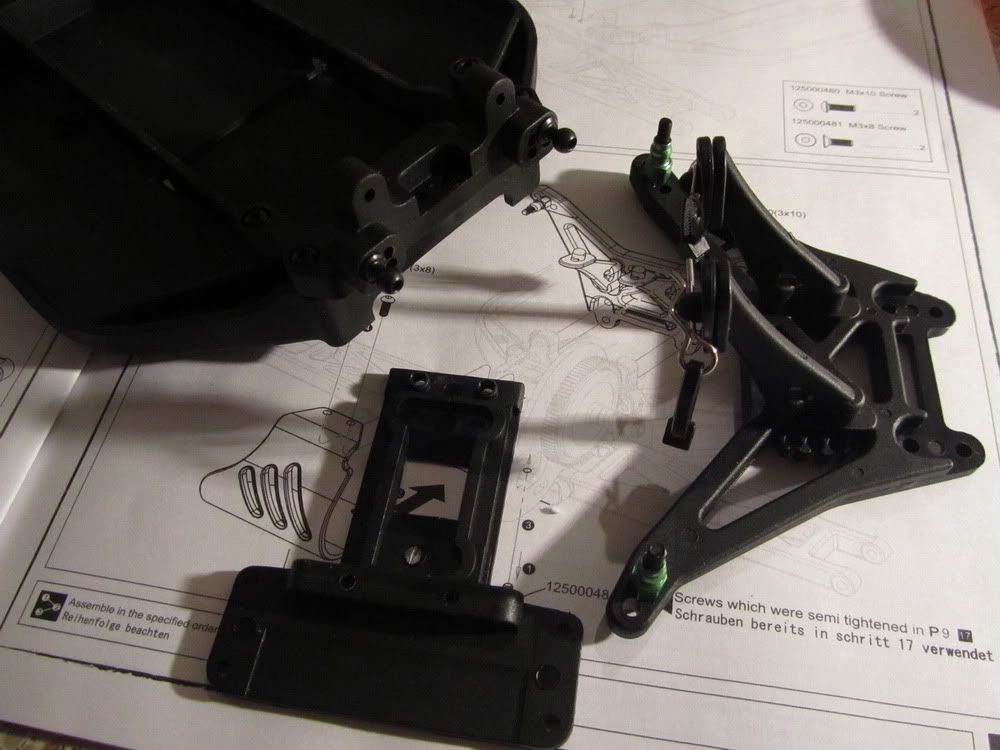 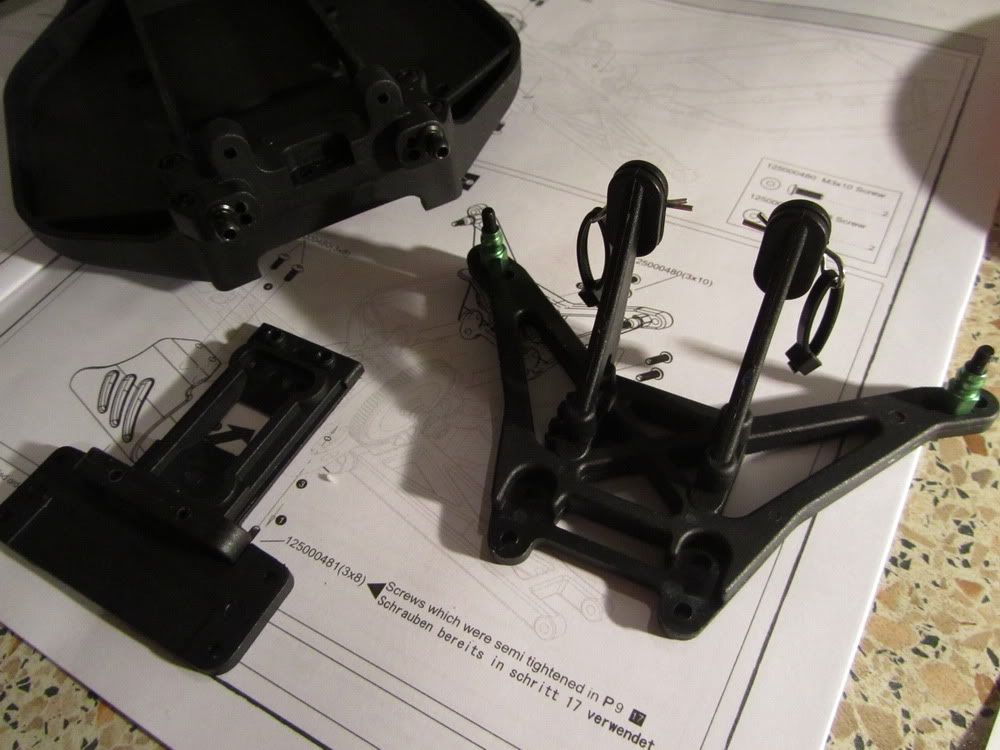 Rear suspension: 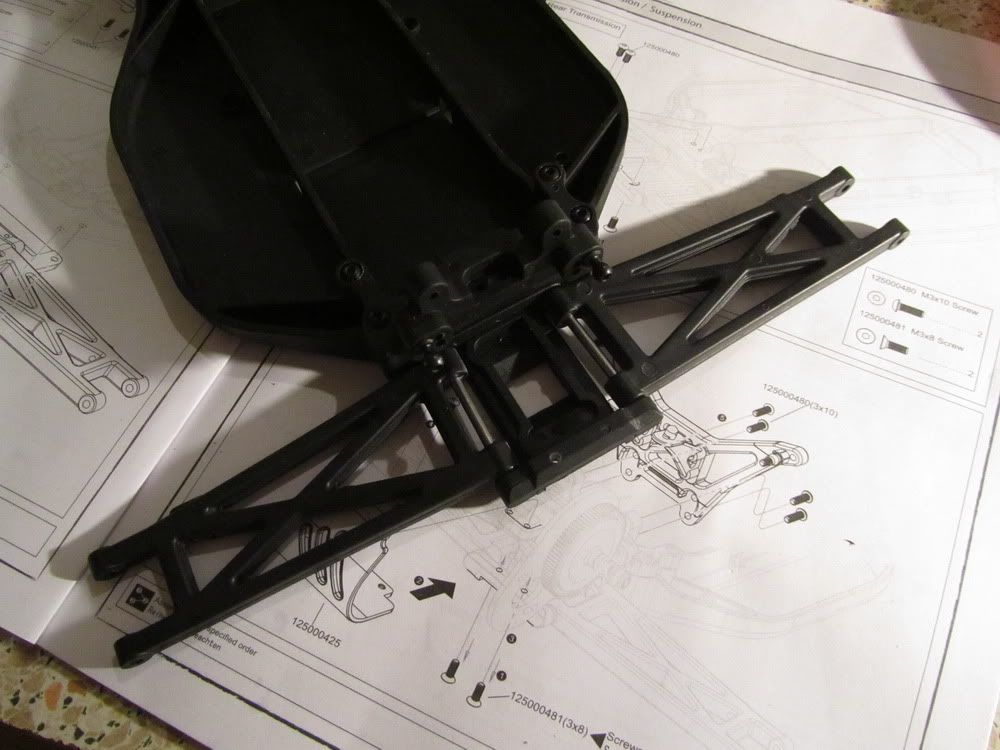 Stripped screws were replaced with silvery ones  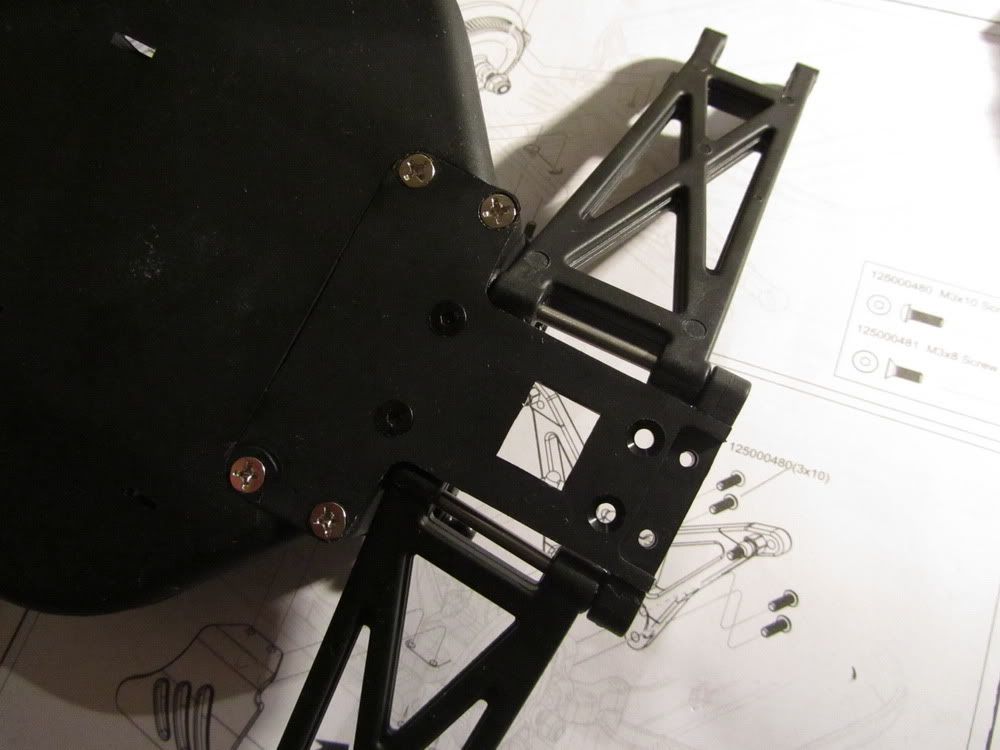
|
|
#5
|
|||
|
|||
|
Place for motor:
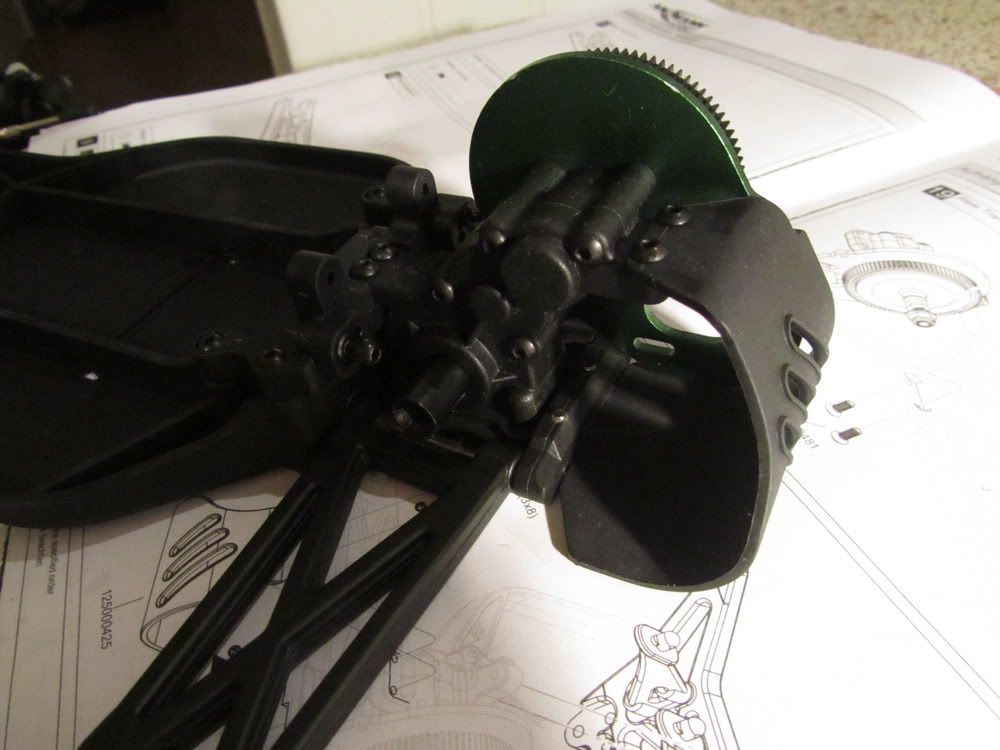 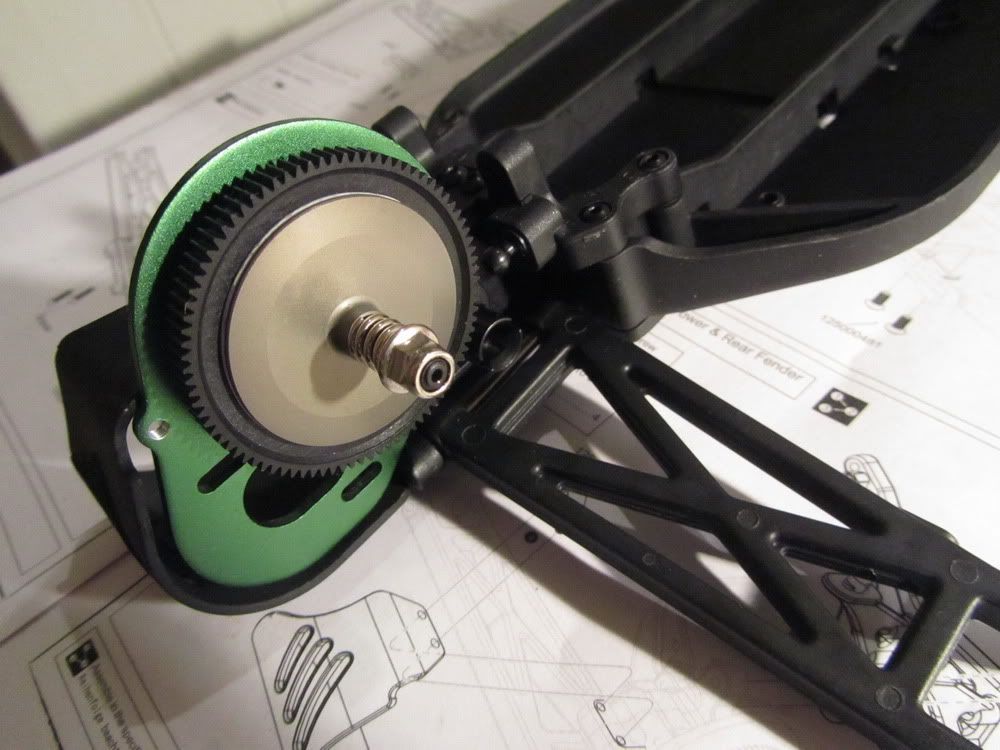 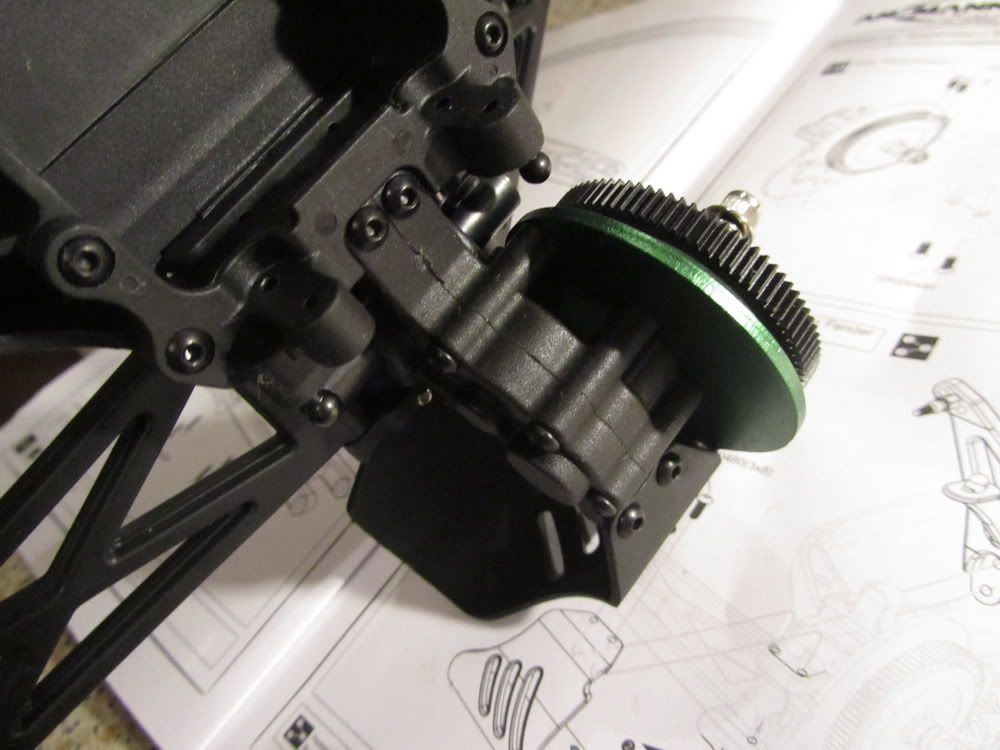 Everything in place. I love the CVD's in this model  . . 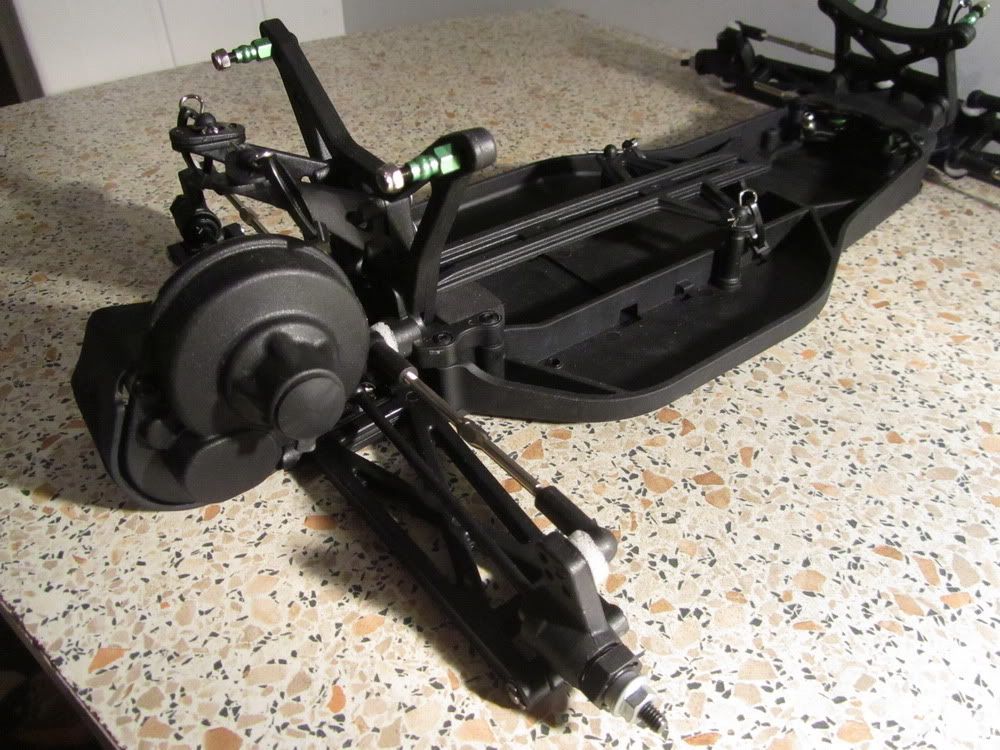 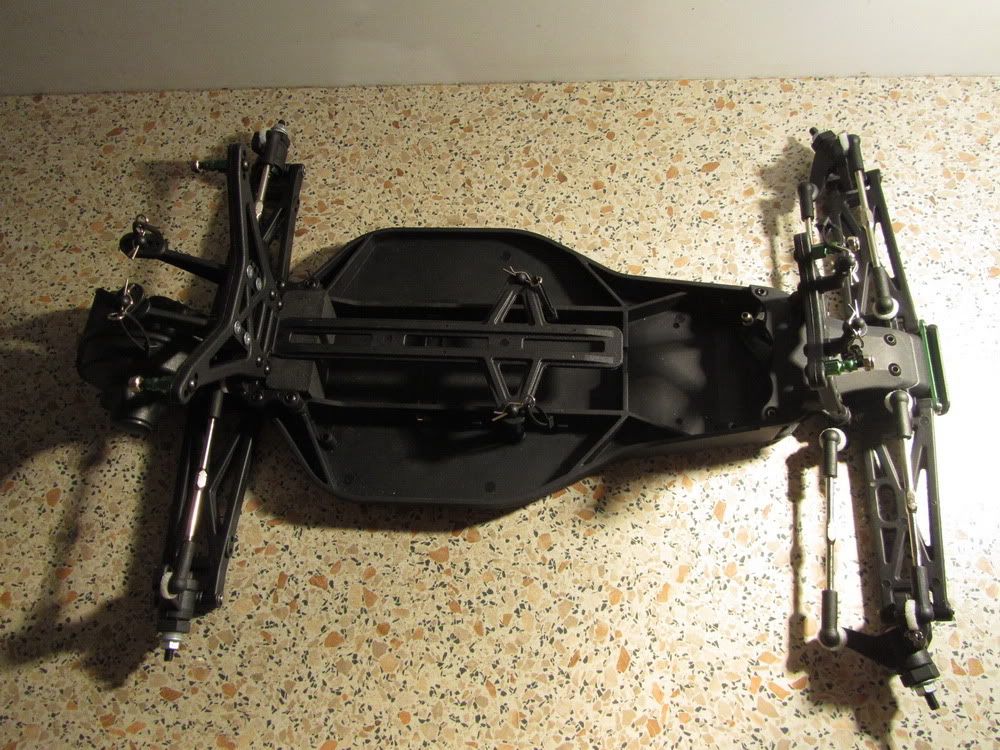 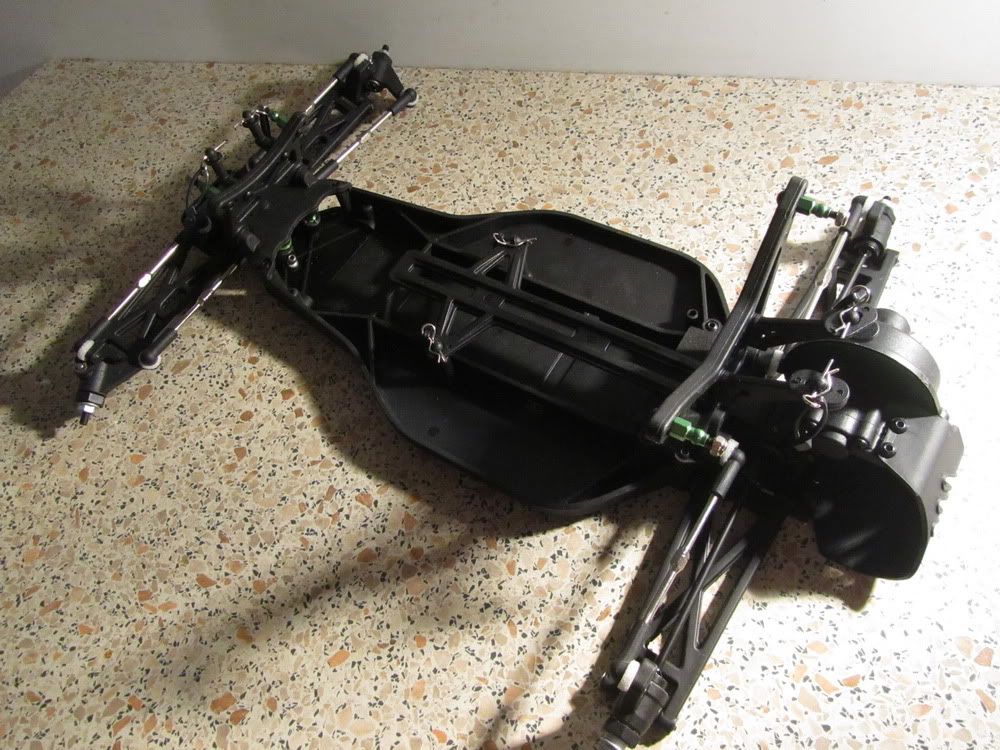
|
|
#6
|
|||
|
|||
|
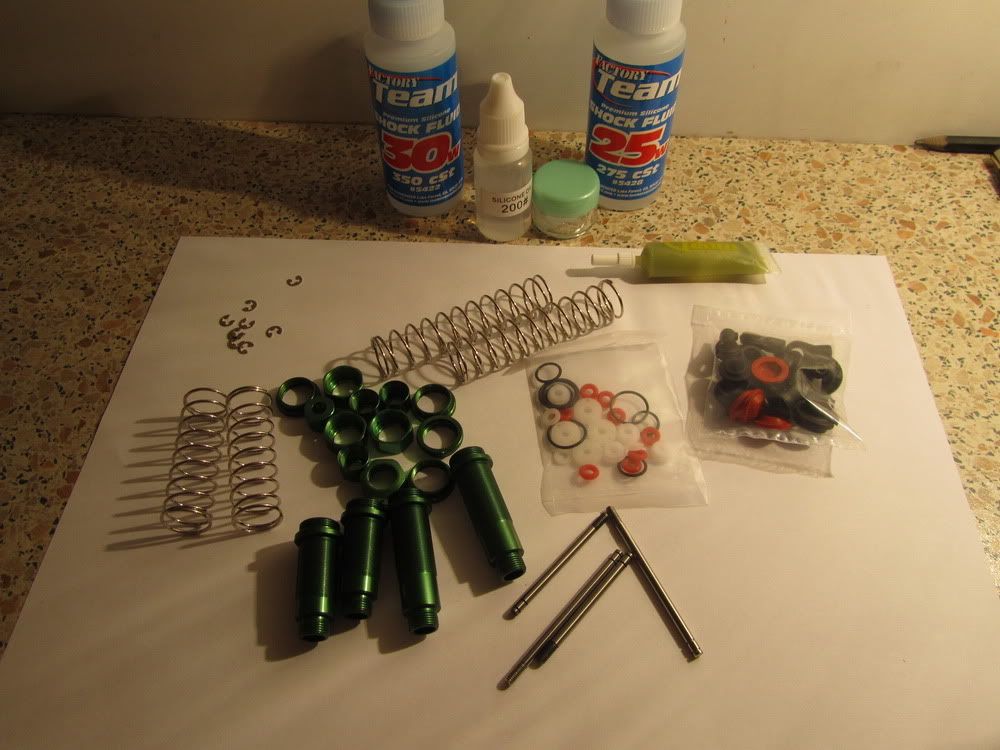
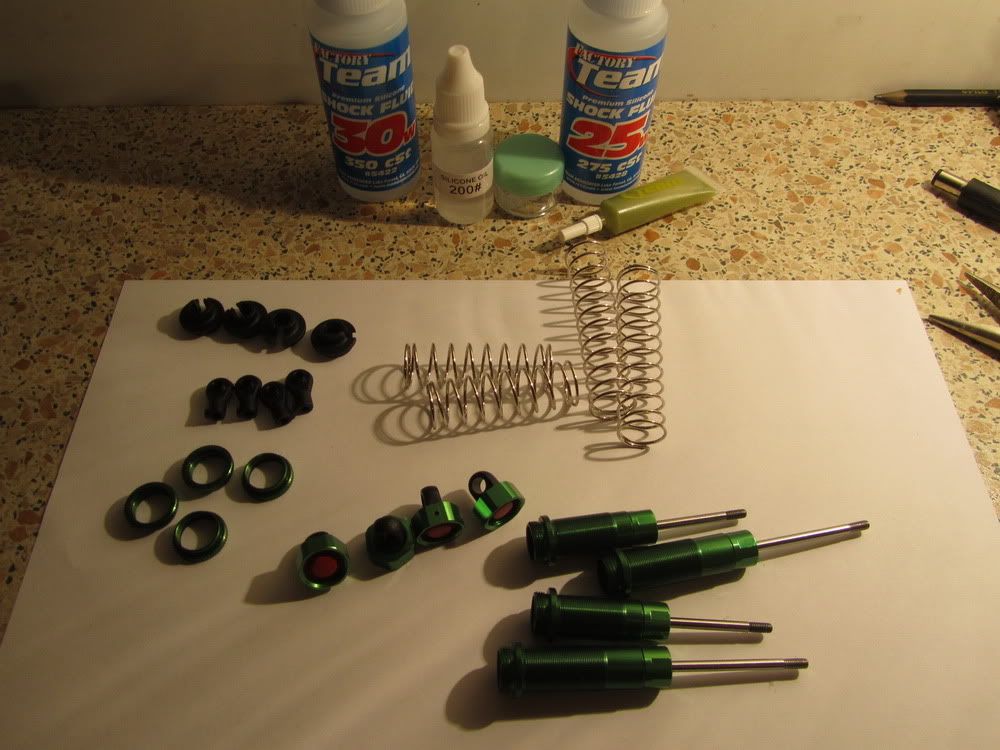
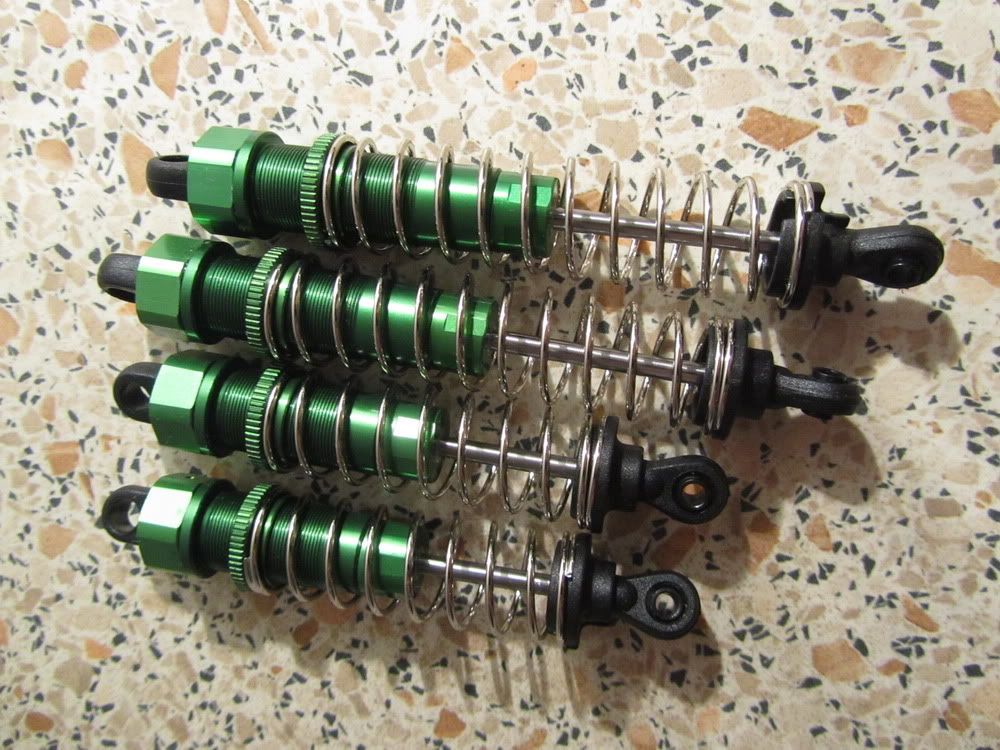
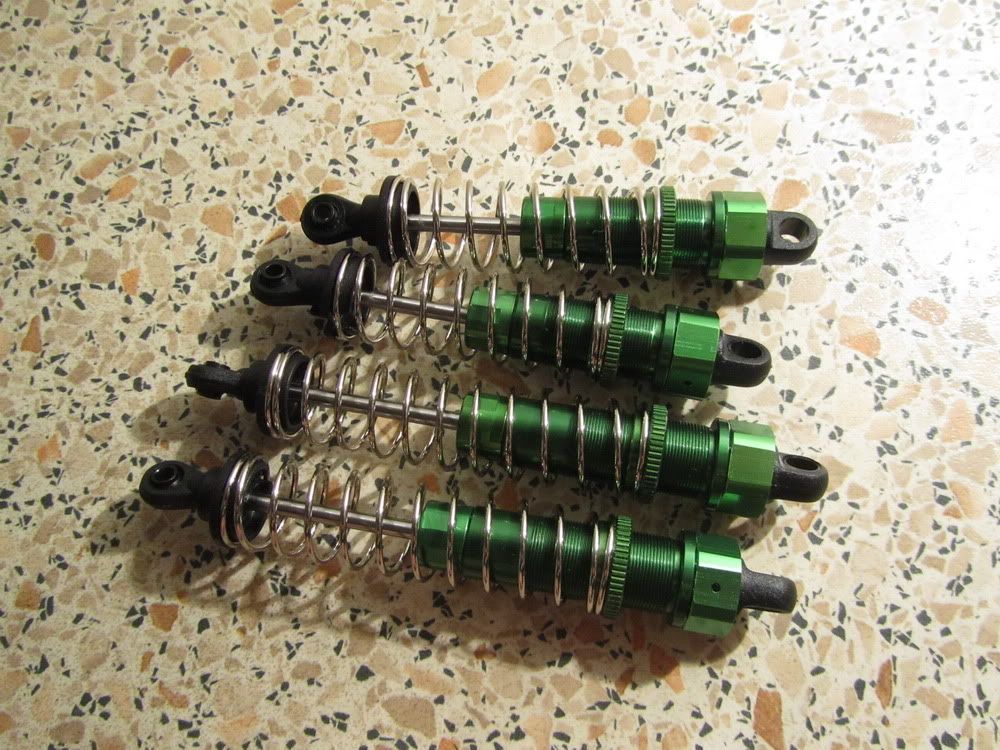
Shocks. I put 25wt to rear, and 30wt to front. Shock quality is very good. Shocks use bladder (I prefer it more over emulsion shocks). They feel just right for this model, a little on the soft side. It's just a pity, that there is only one set of pistons and springs
|
|
#7
|
|||
|
|||
|
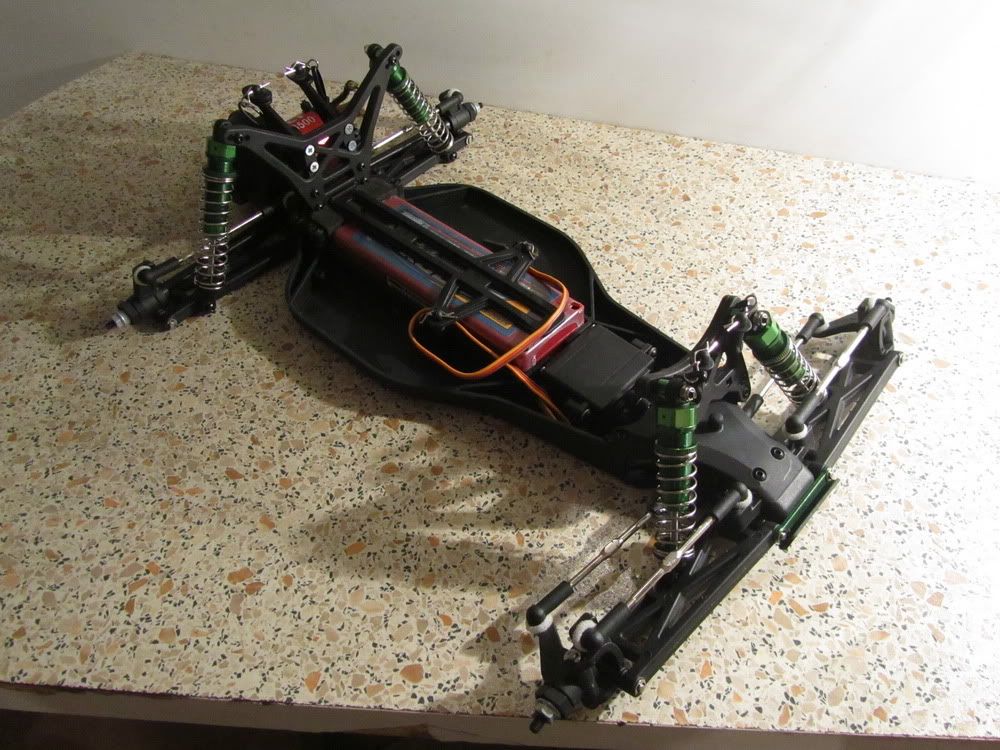
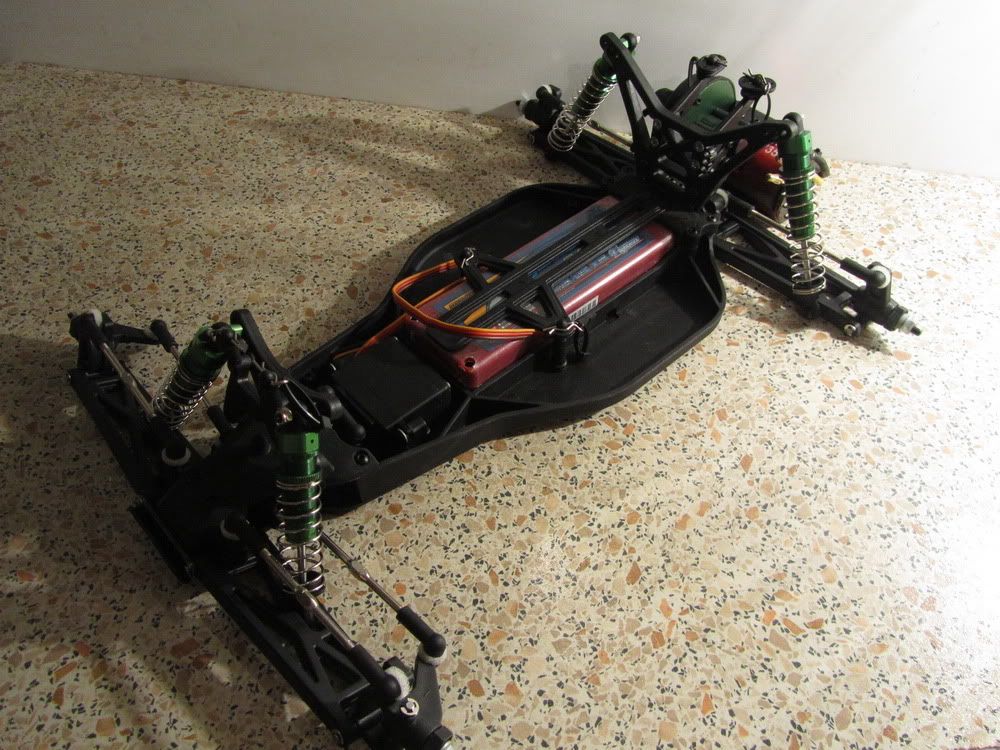
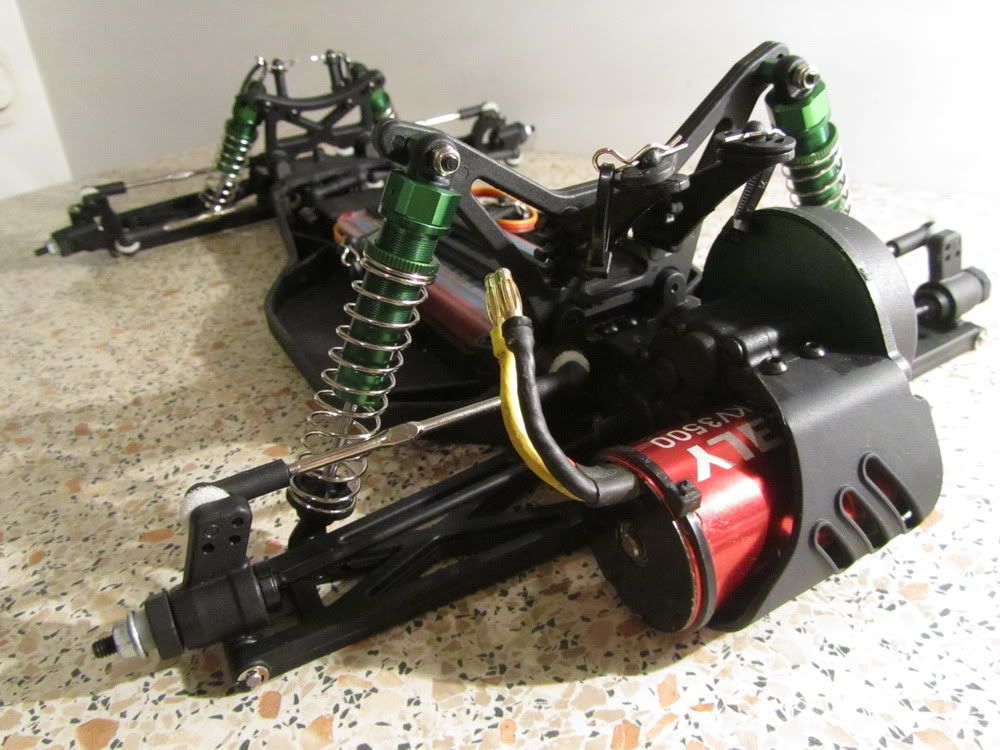
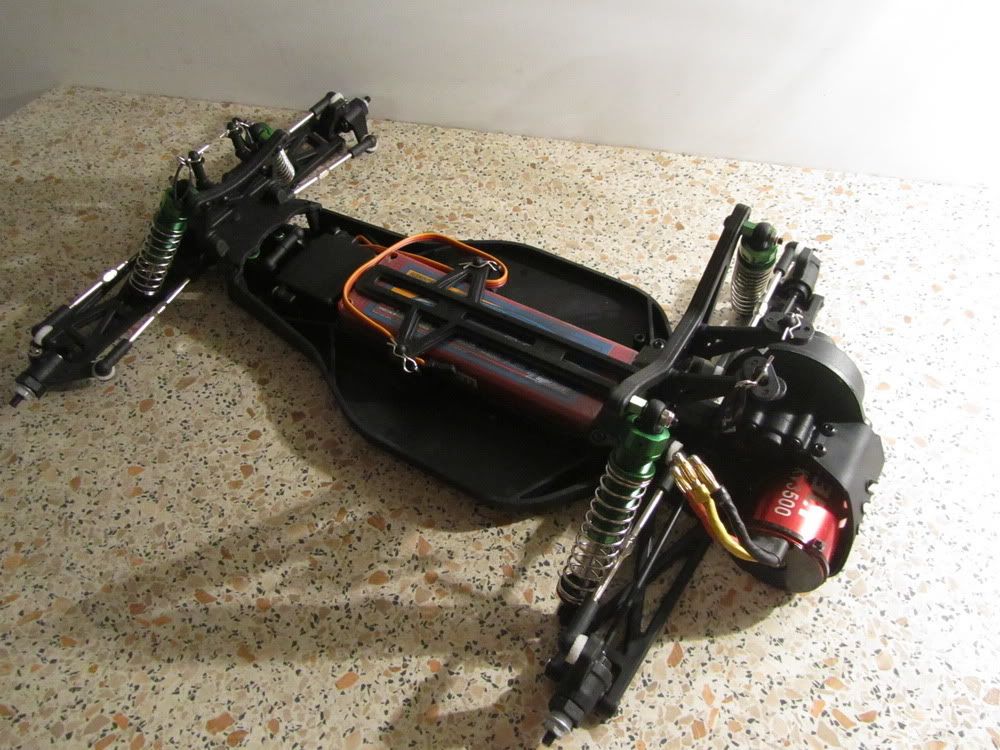
Complete with shocks:
    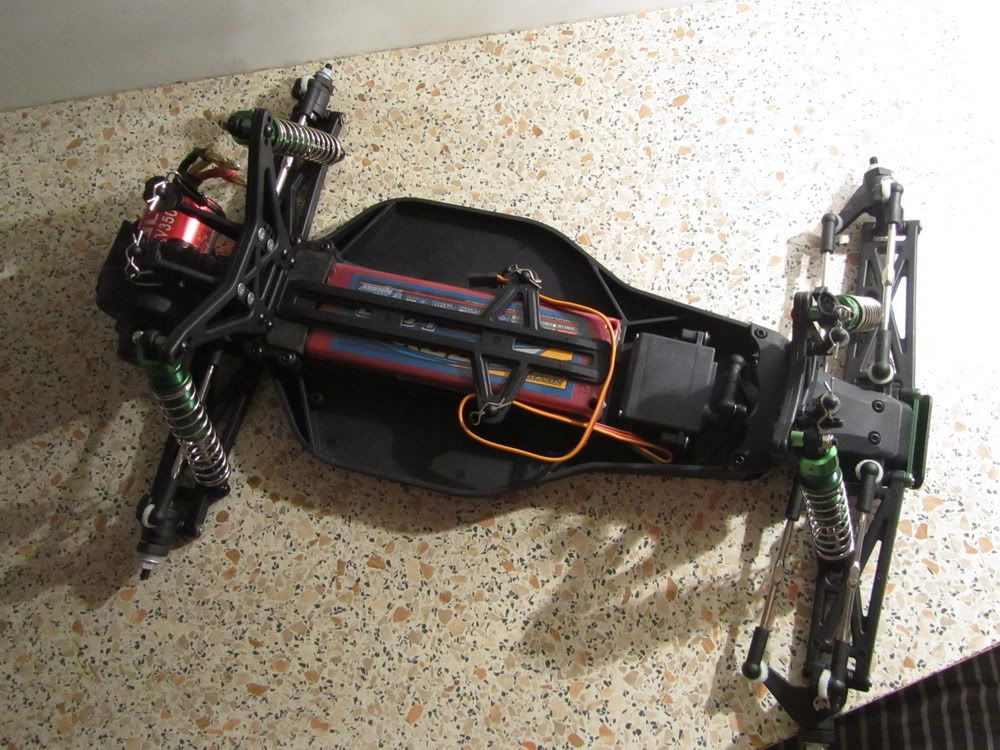 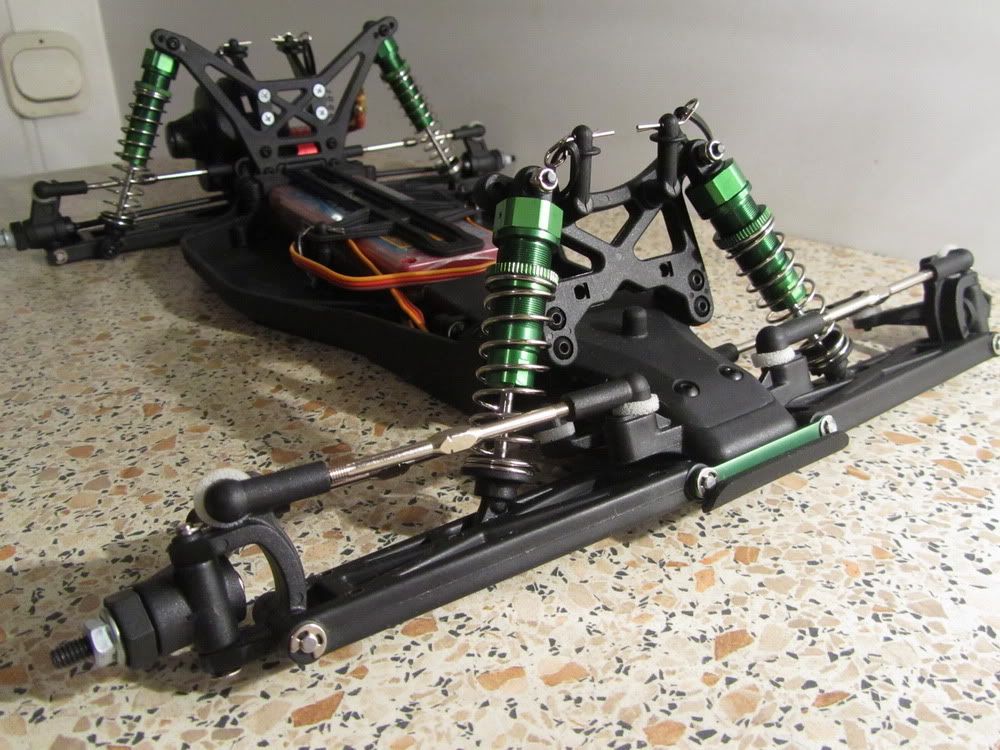 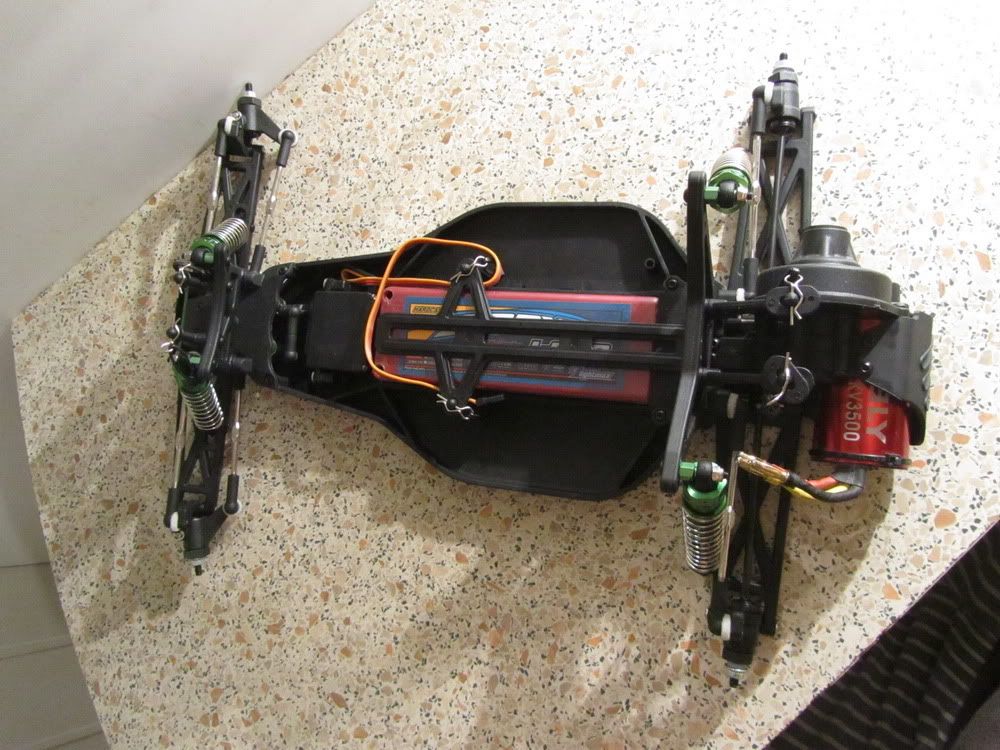
|
|
#8
|
|||
|
|||
|
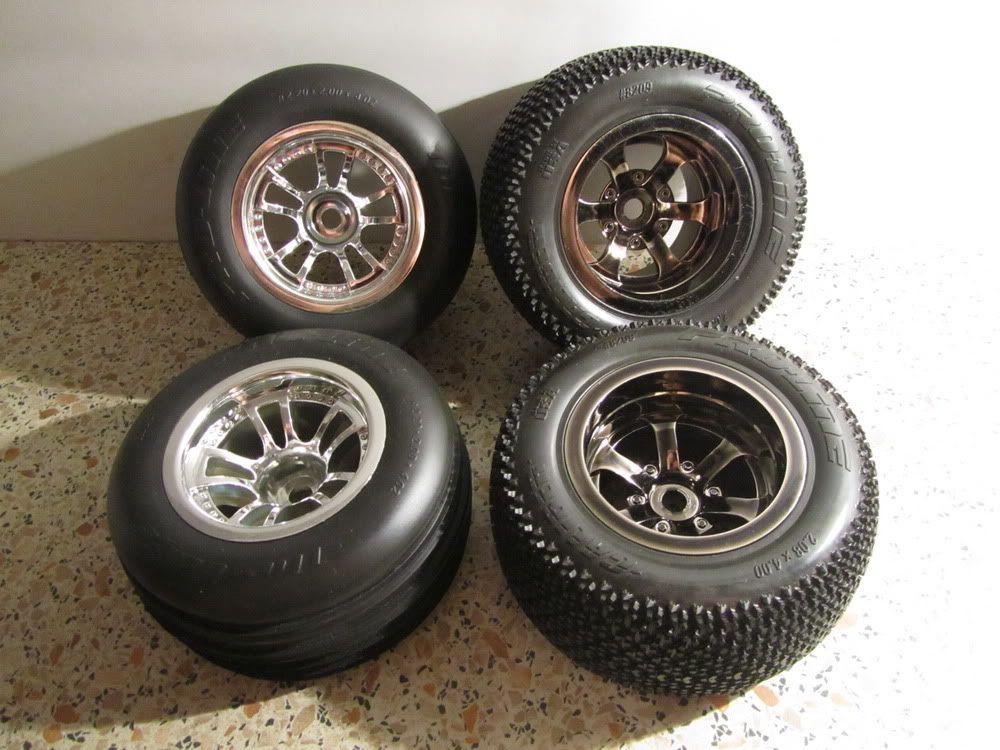
HPI rims and Proline tyres (Ribbed and Caliber, both M3). They feel quite soft and should have some good grip in my local RC track (dirt/gravel surface). I love these fancy rims and I am not currently using stock dished wheels. Maybe for spare wheels in the future.
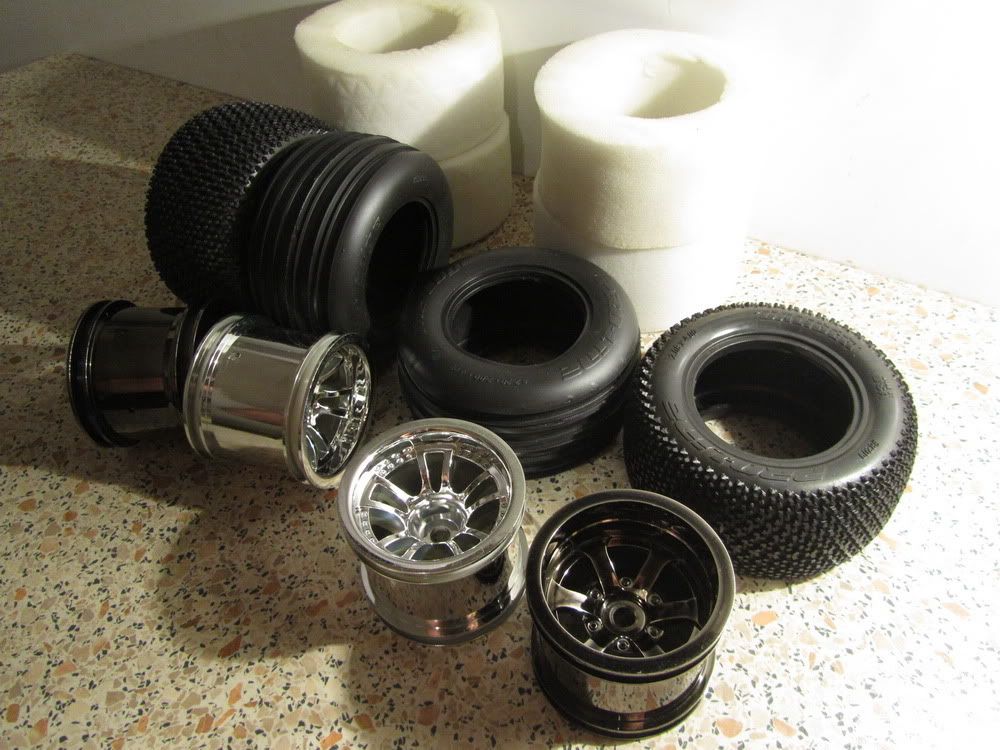   
|
|
#9
|
|||
|
|||
|
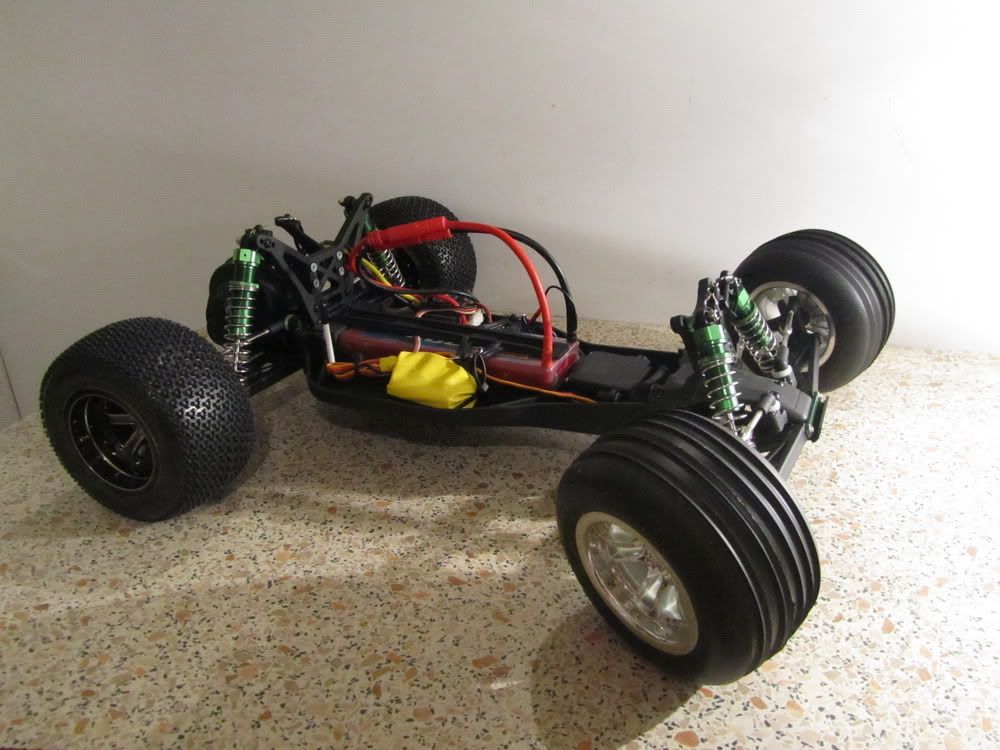
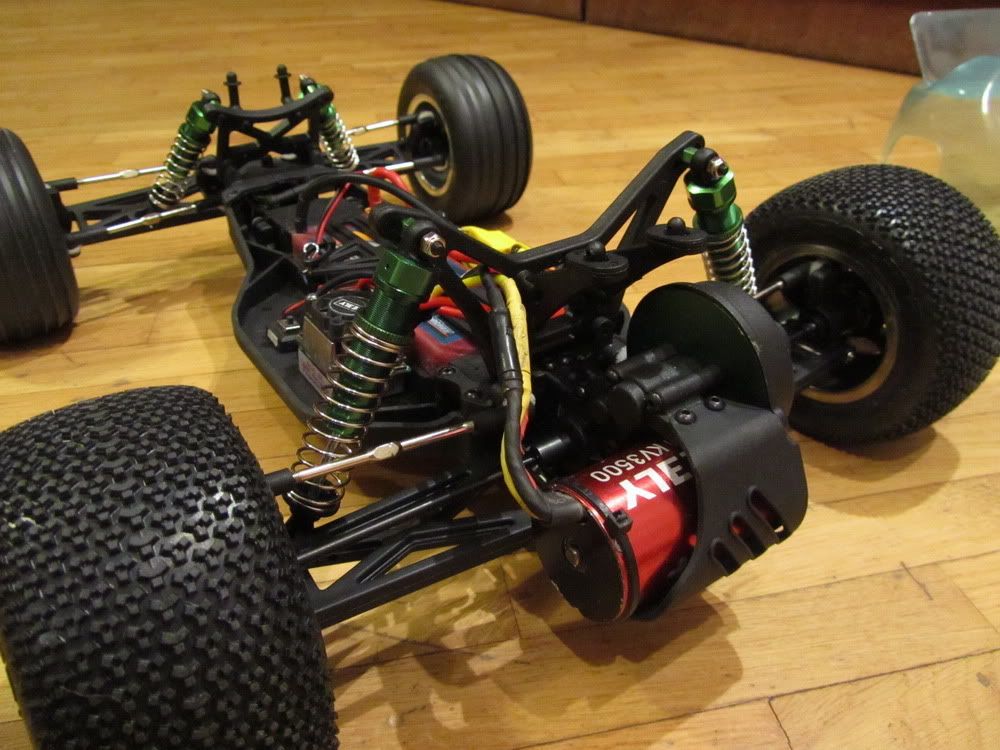
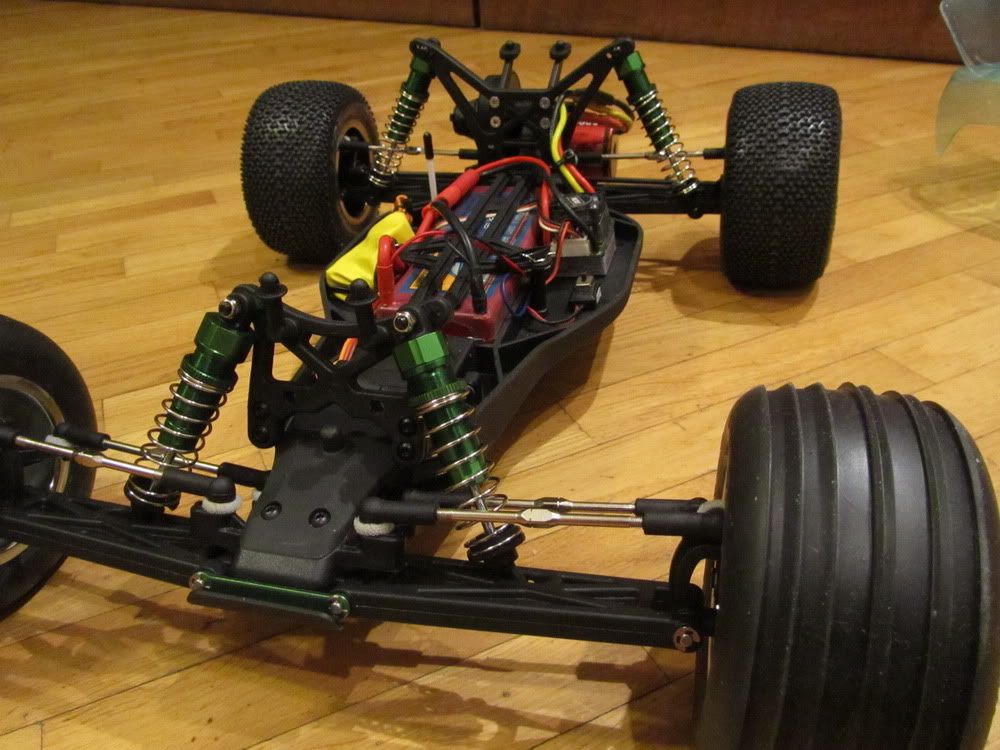
Complete with wheels and electrics. Receiver is inside the yellow balloon
 . .    I have cut out the body and drilled mounting holes: 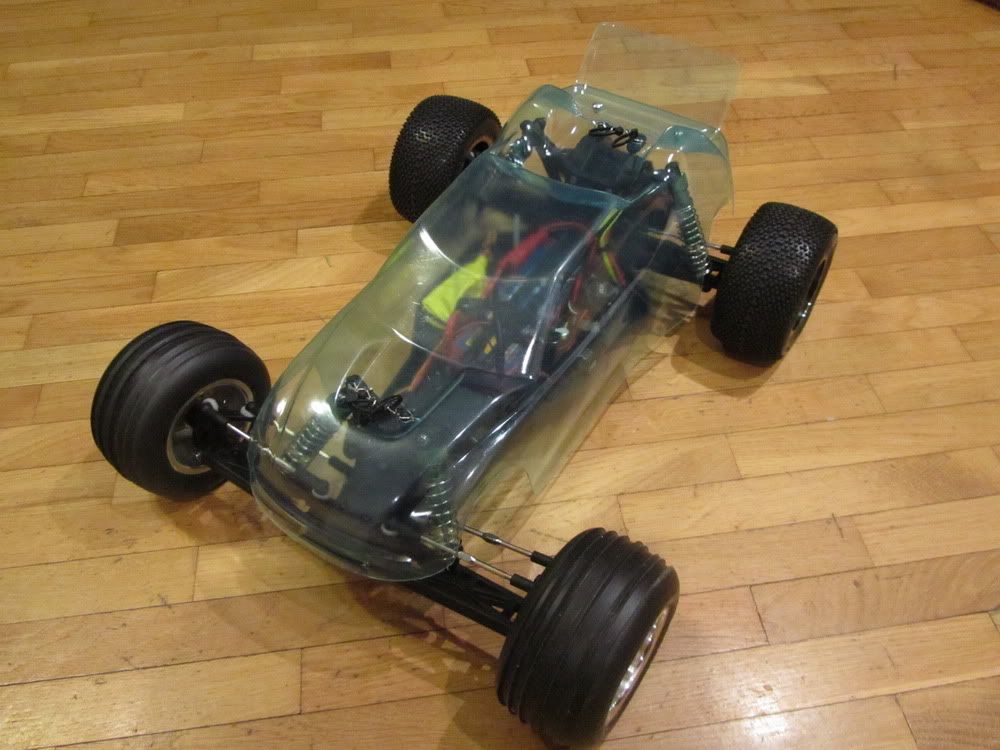 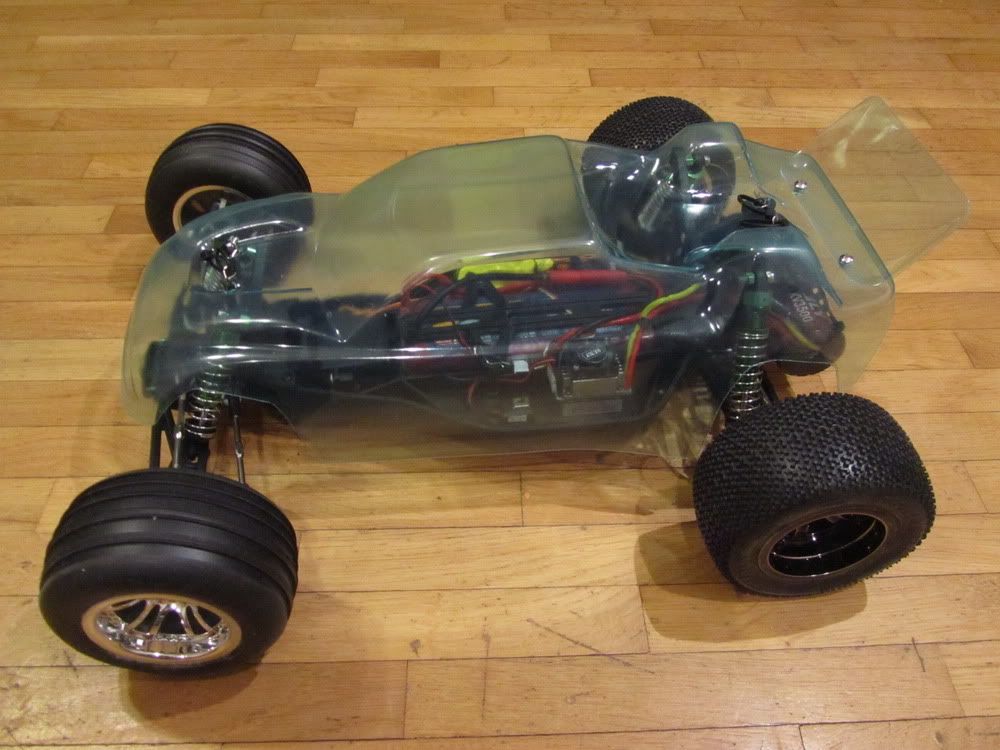 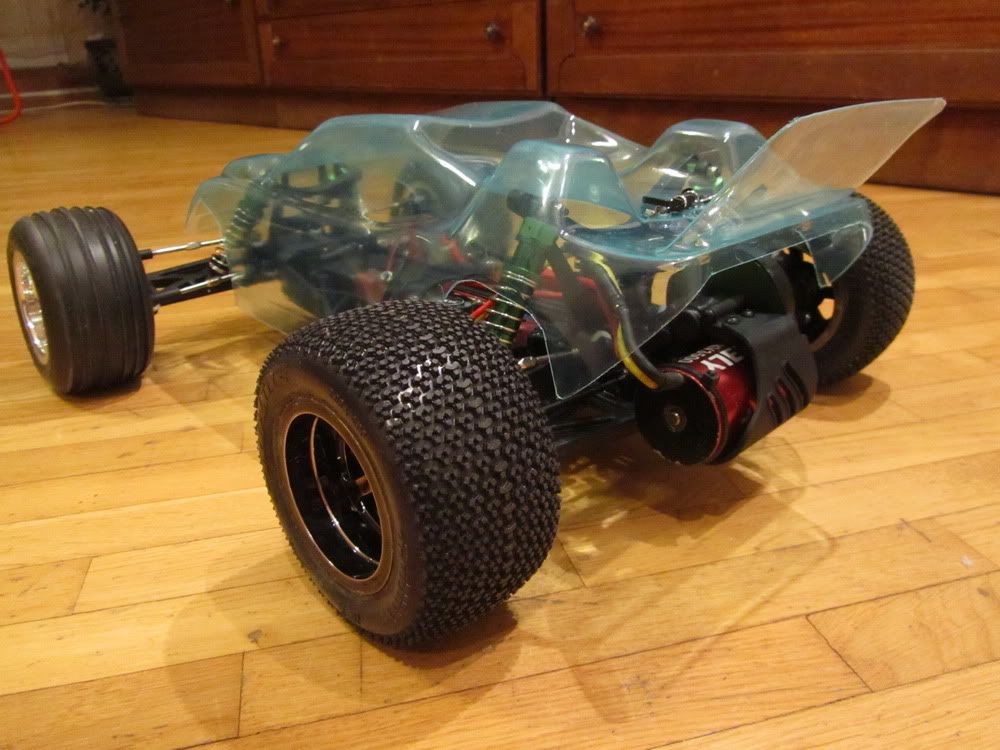 
|
|
#10
|
|||
|
|||
|
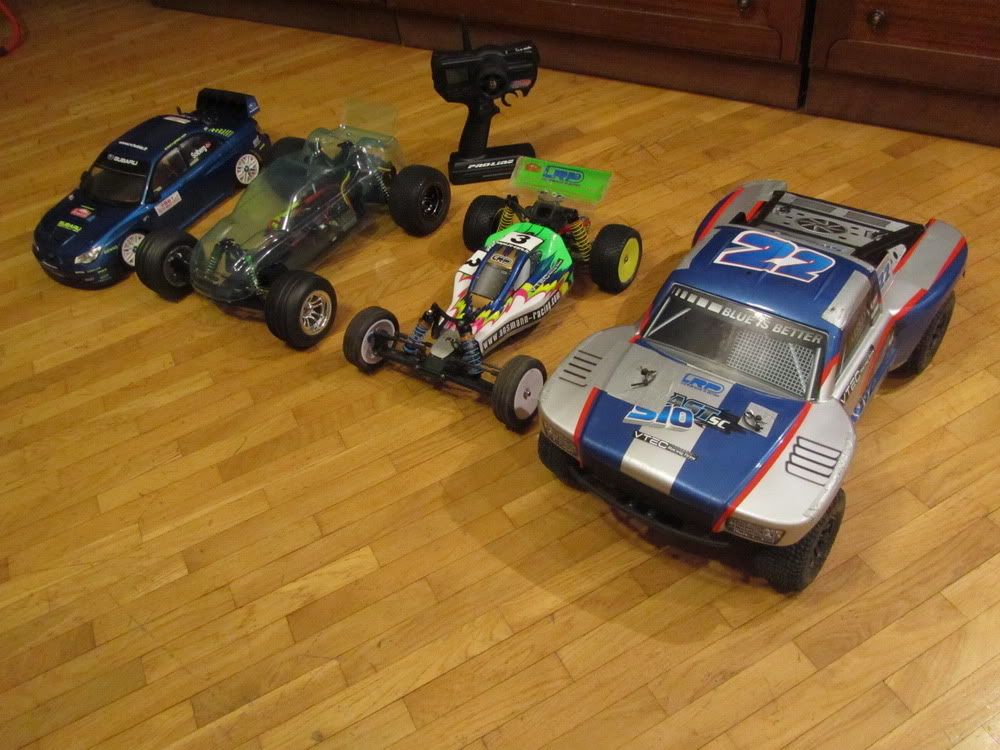
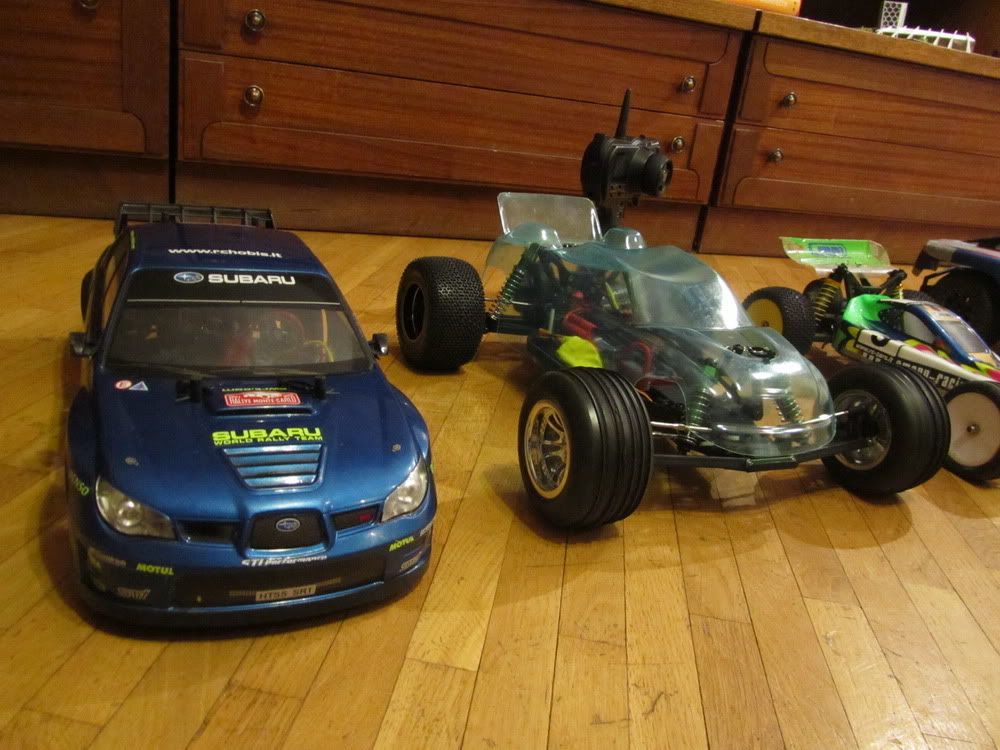
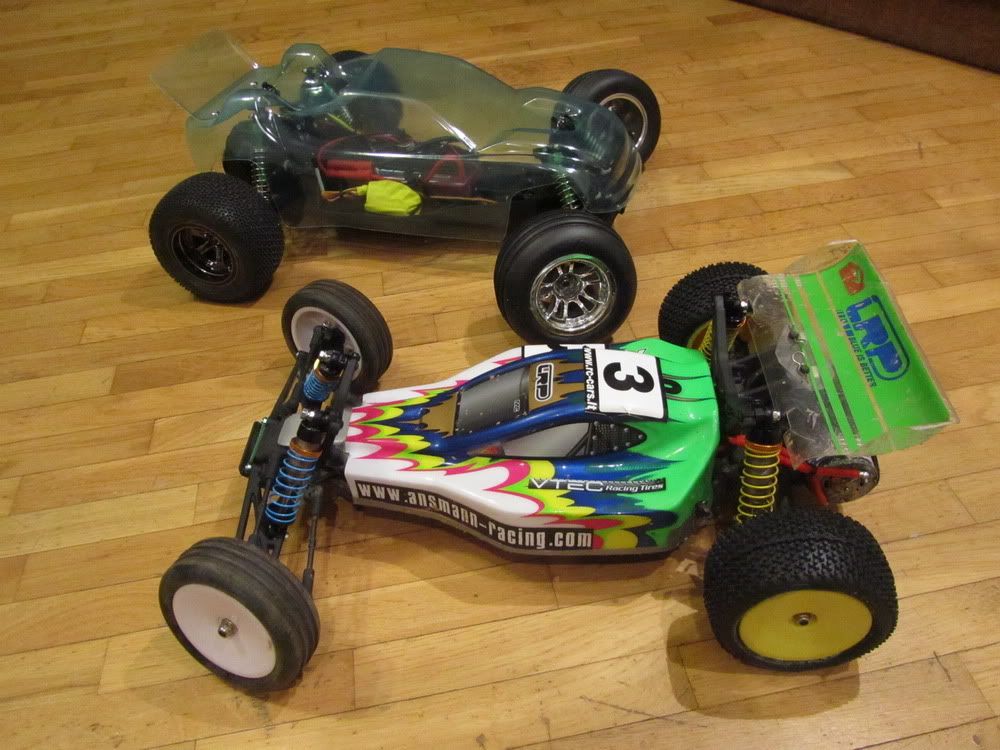
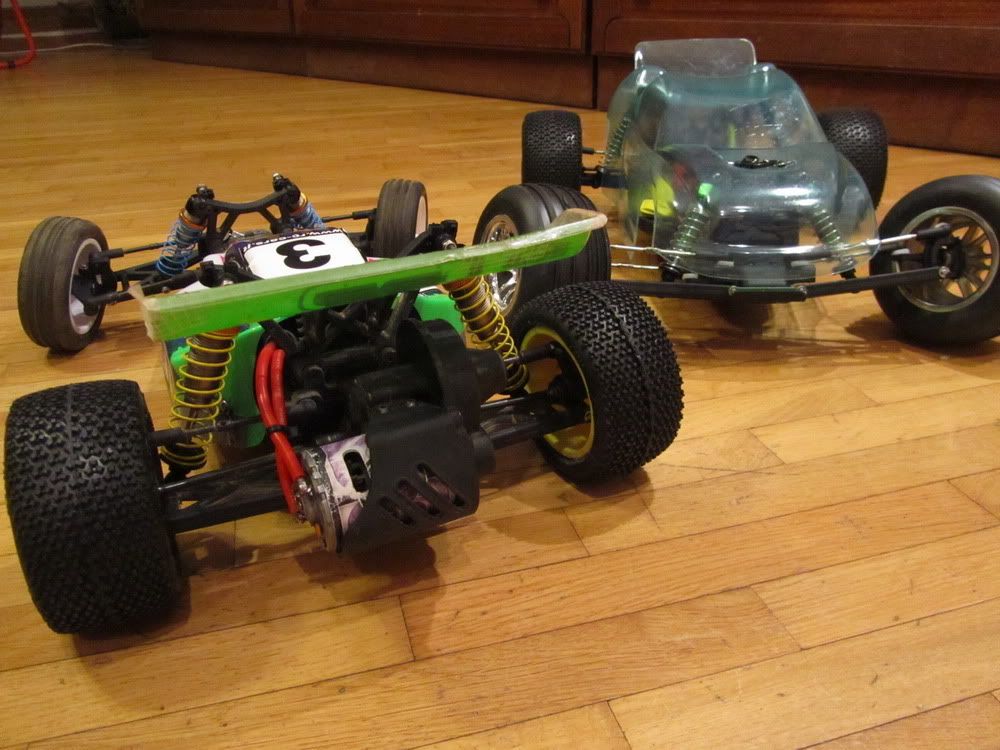
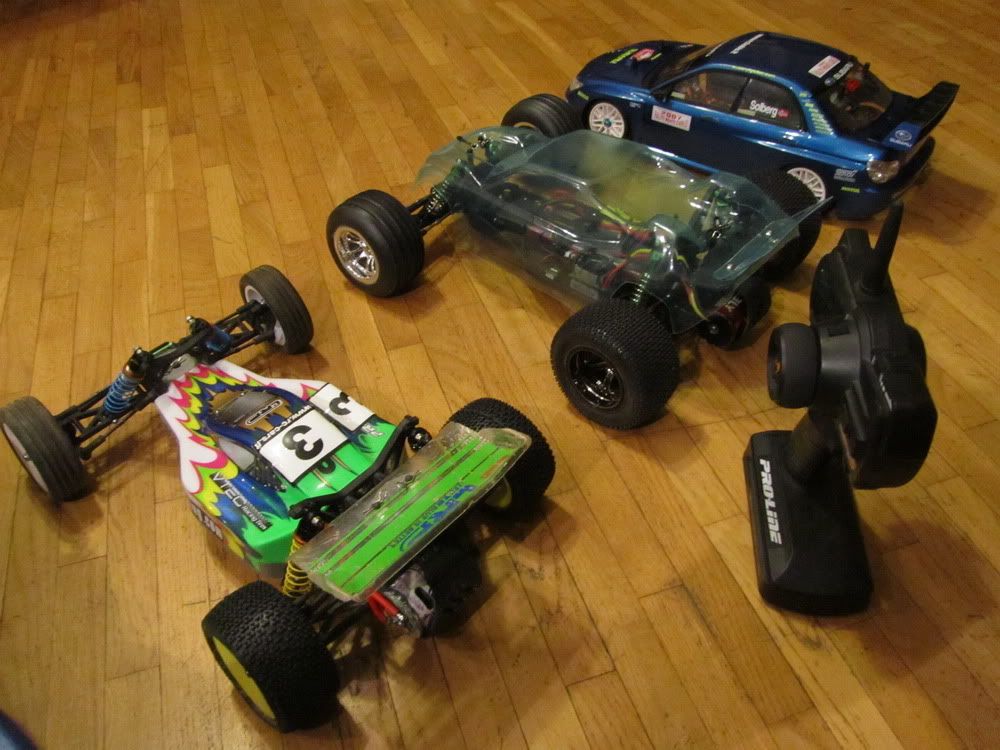
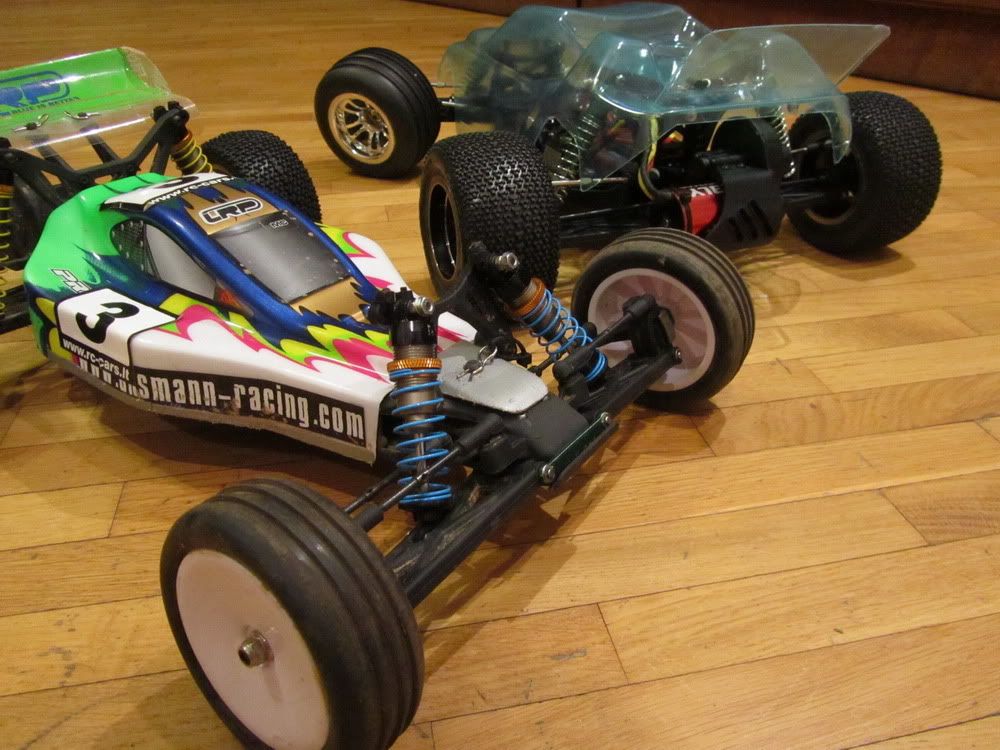
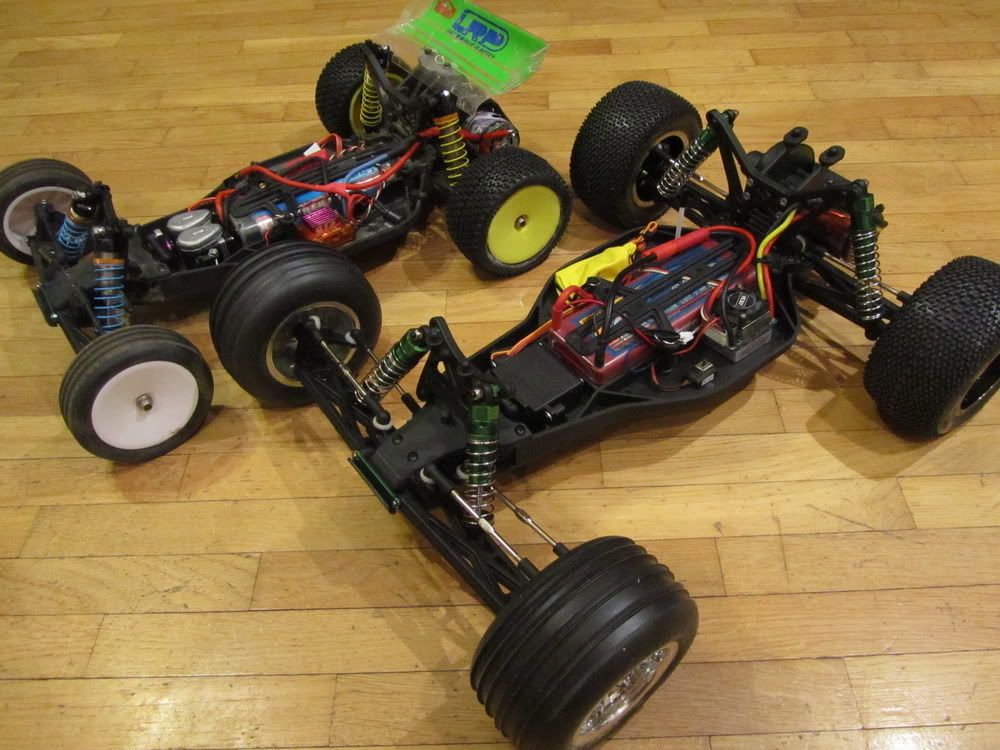
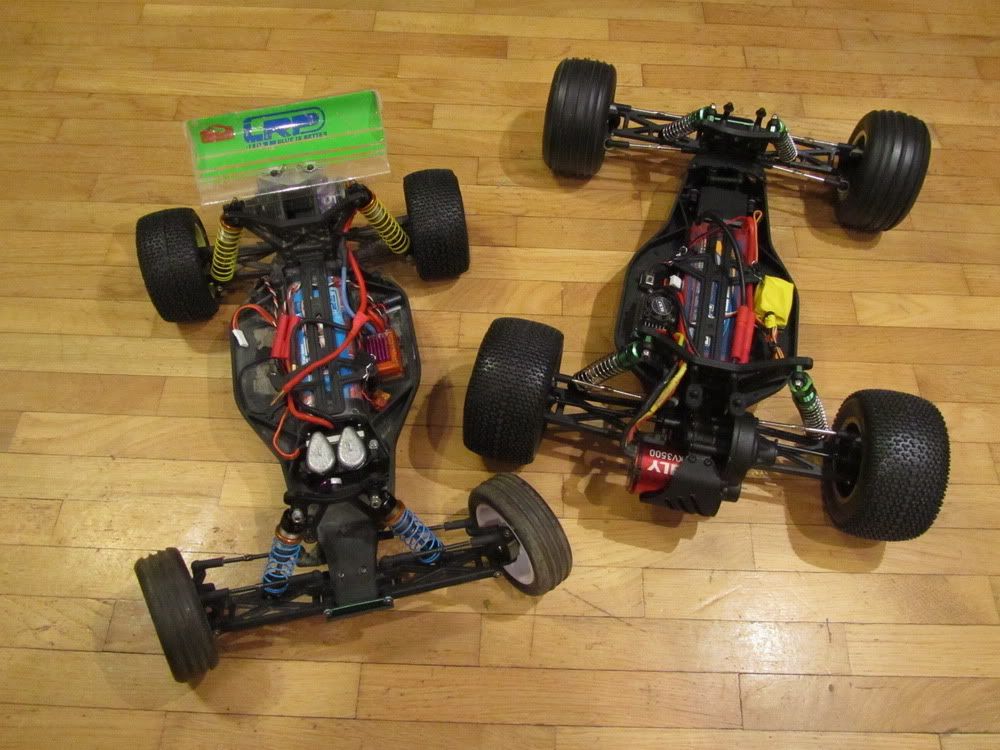
Photosession with my other models:
|
|
#11
|
|||
|
|||
|
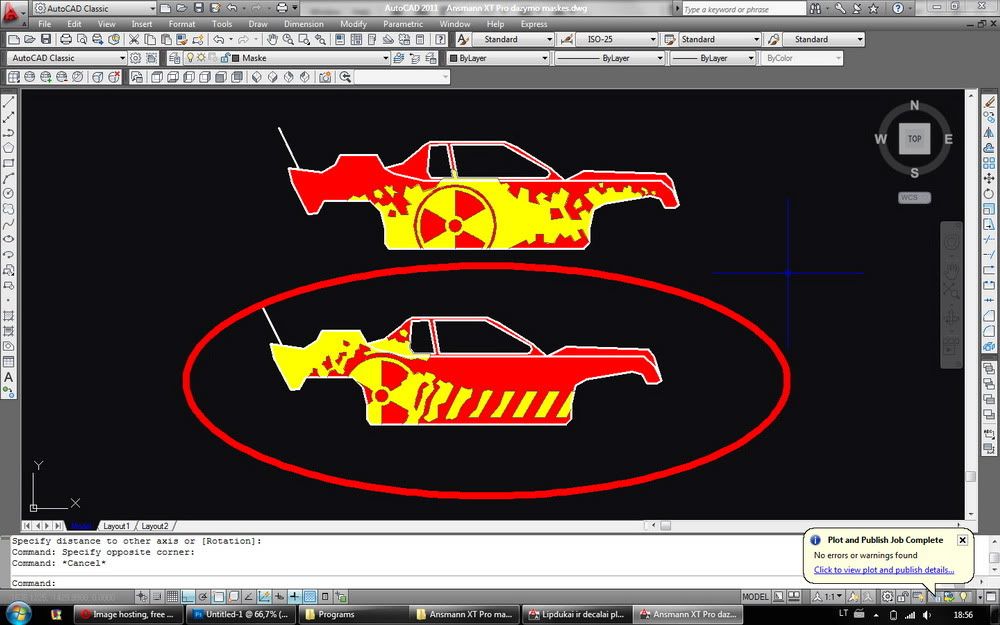
Preparations for body painting. First of all I have made the paint masks design in AutoCAD.
 Painting:   Finished painting and removed the masks:  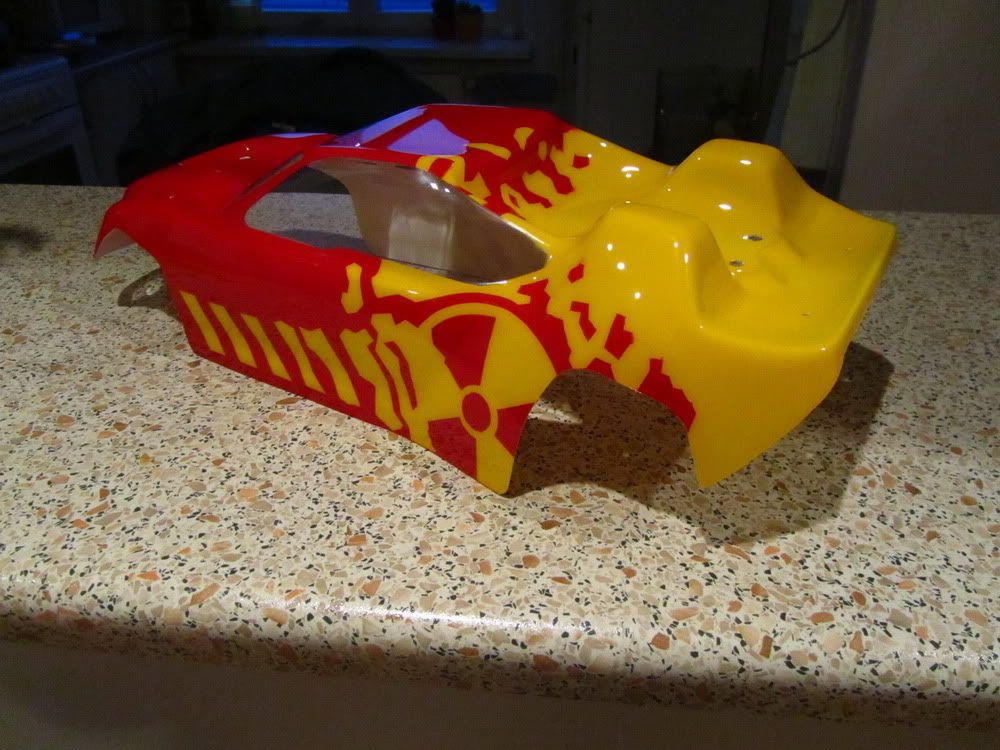 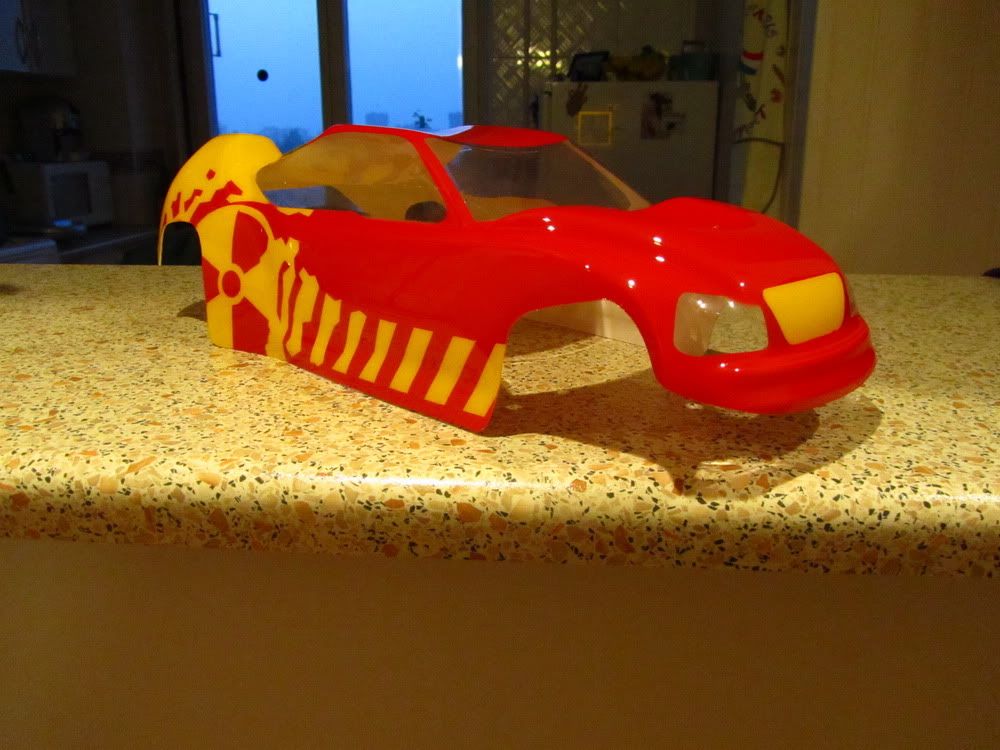
|
|
#12
|
|||
|
|||
|
I made some decals with AutoCAD (window and light frames, etc.). I made them from PVC film, the one, that is used to make decals for cars and windows.
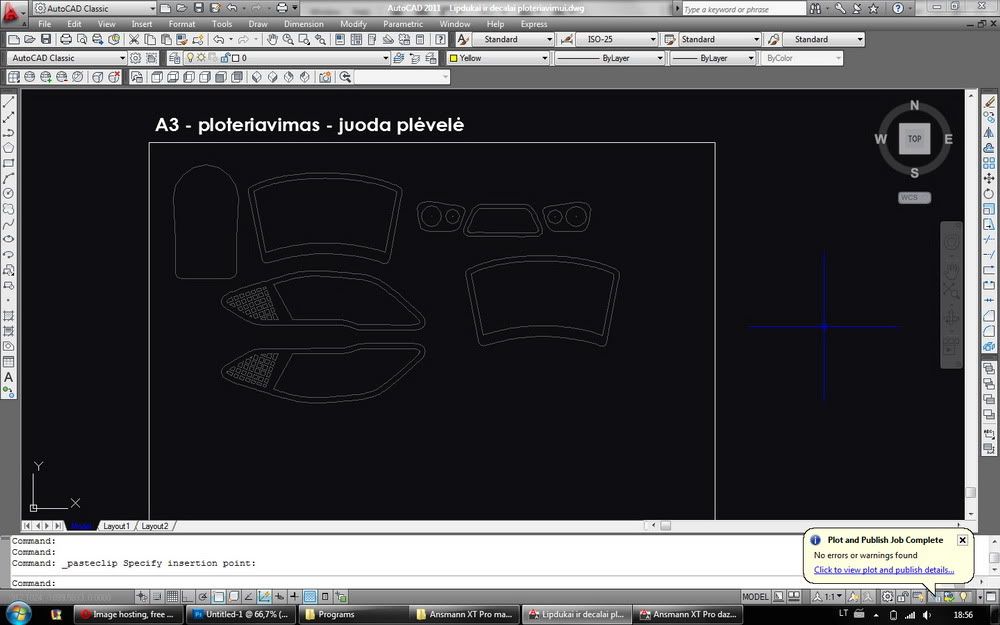 Decals applied to the body. I made some reinforcements out of the same film around the mounting holes to prevent scratches on body. Also I made some reinforcement from black duct tape around the bottom perimeter to prevent premature cracks. 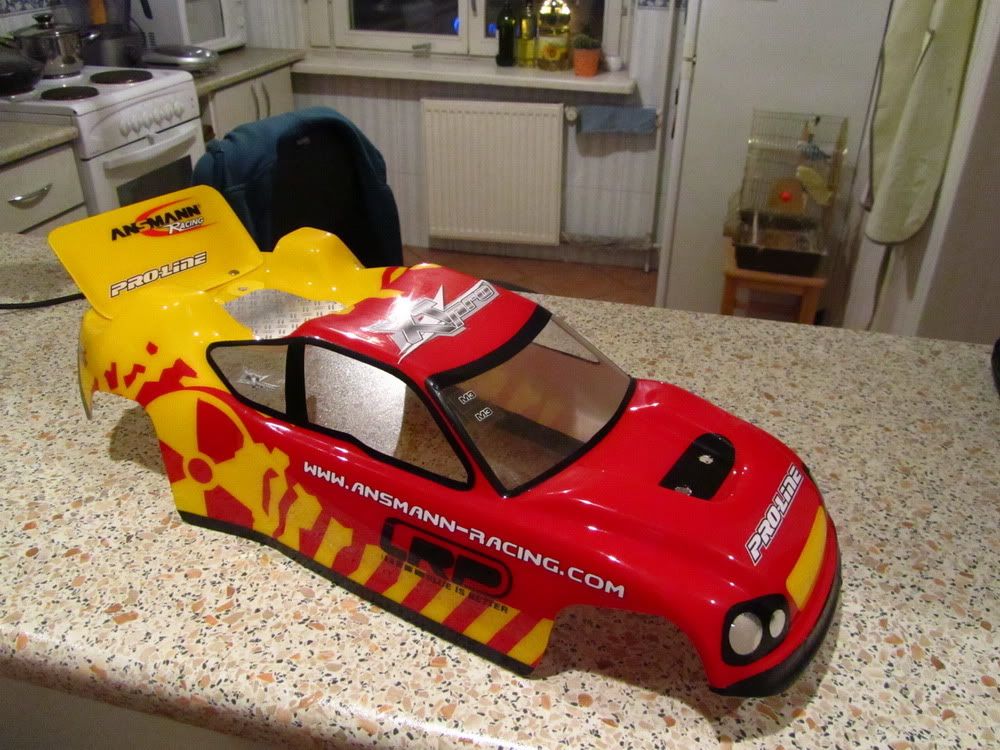 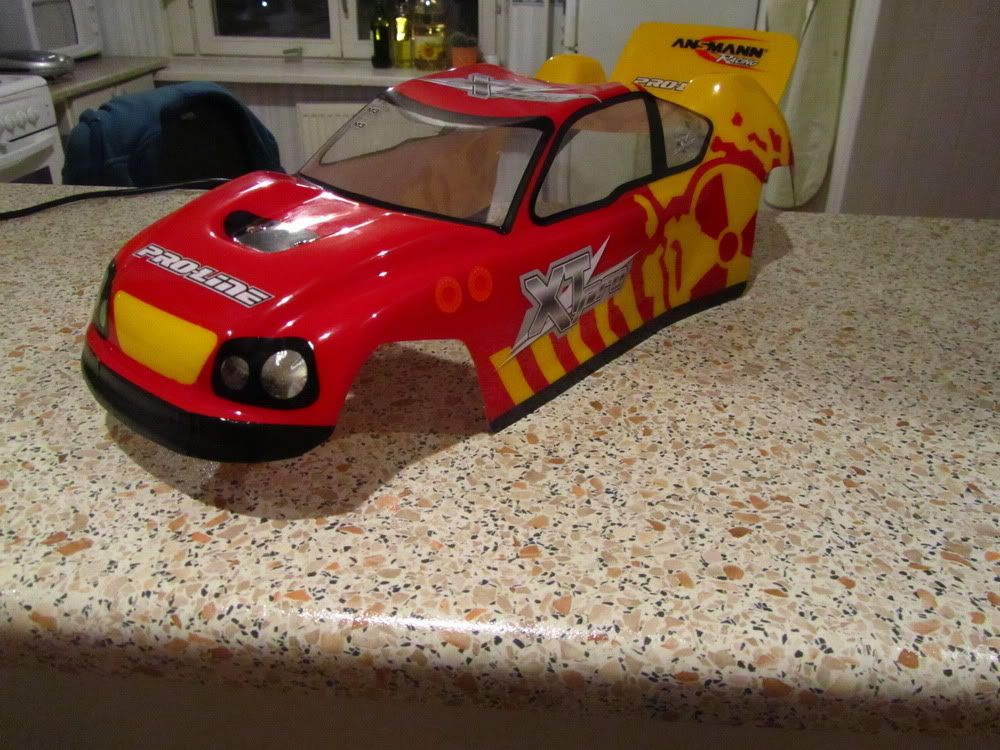 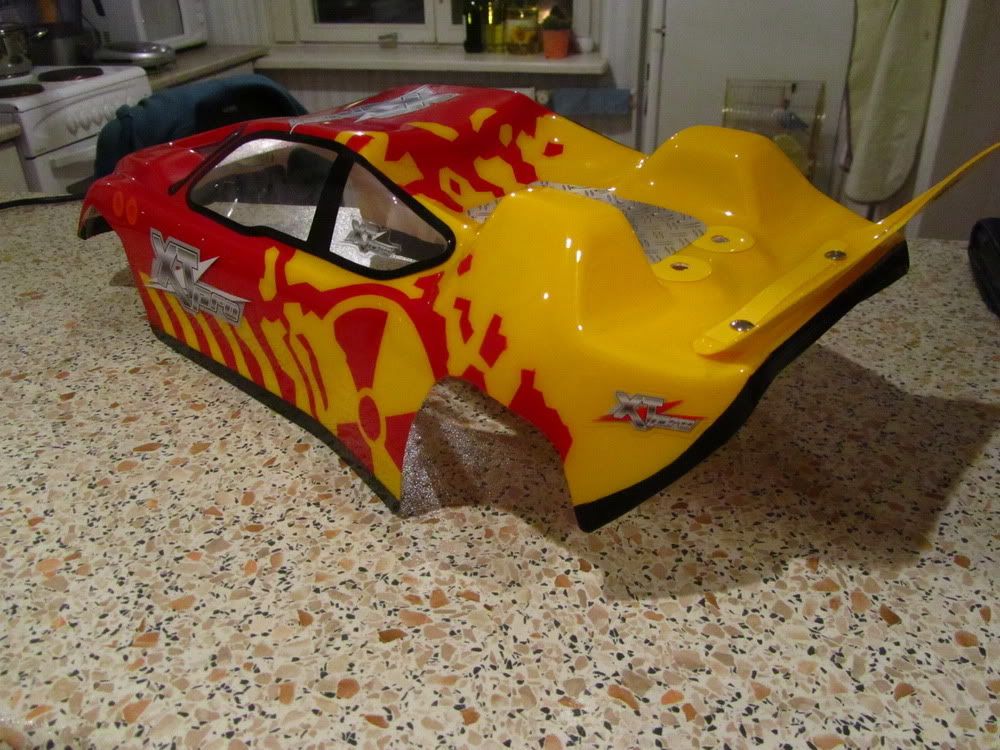 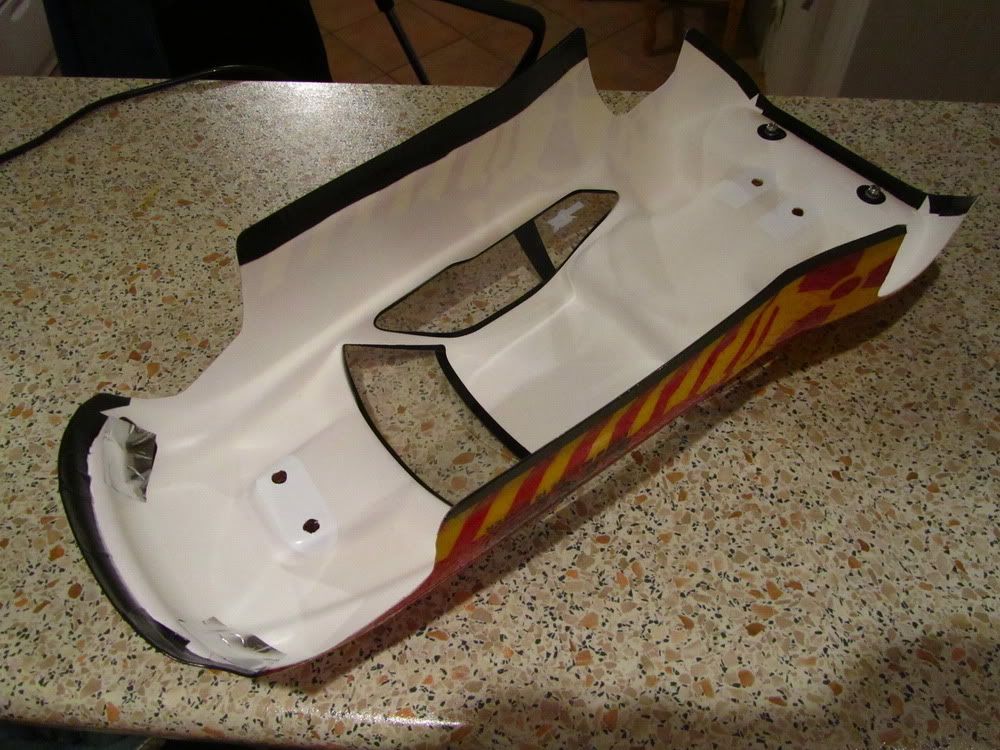 For the future, I am going to order T-Bone Racing bumpers for front and rear. I heard pretty good reviews on these, that they really protect the model against impacts.  This is the layout of chassis overwear (against dust and dirt). I will make it from PVC sheets (0,75mm thick). Then I will attach these to the body with velcro straps. 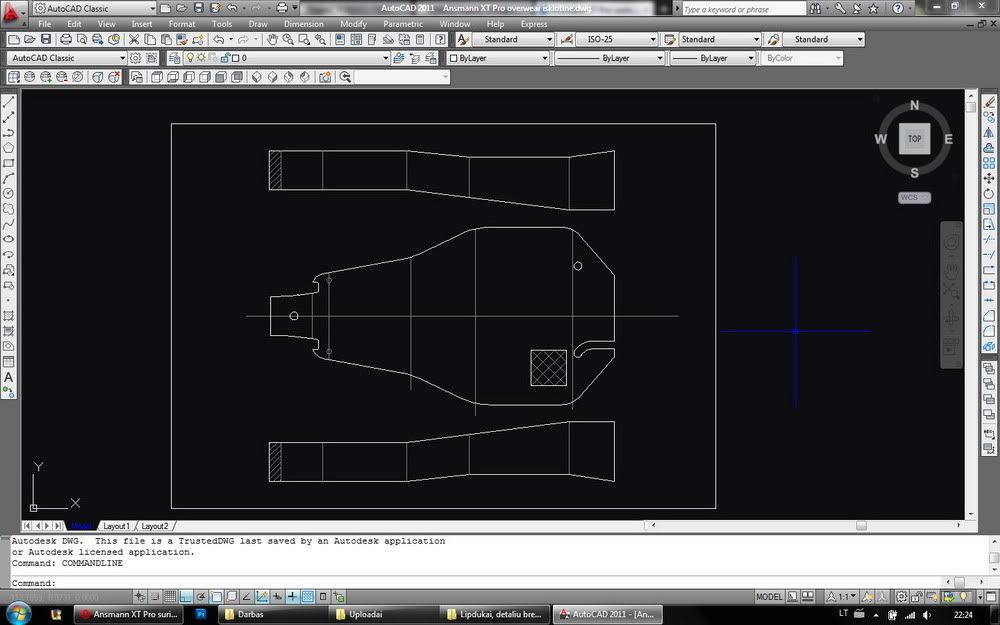
|
|
#13
|
|||
|
|||
|
COMPLETE MODEL!!!
 I also made the protective skin on the bottom of the chassis (from quite thick, transparent PVC film). 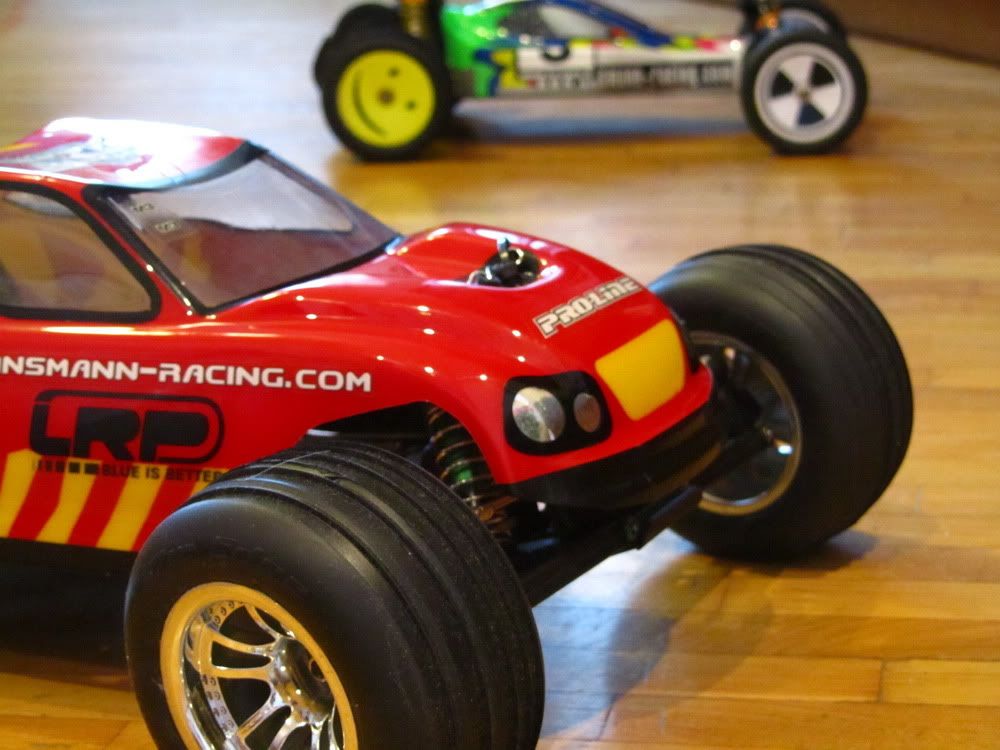 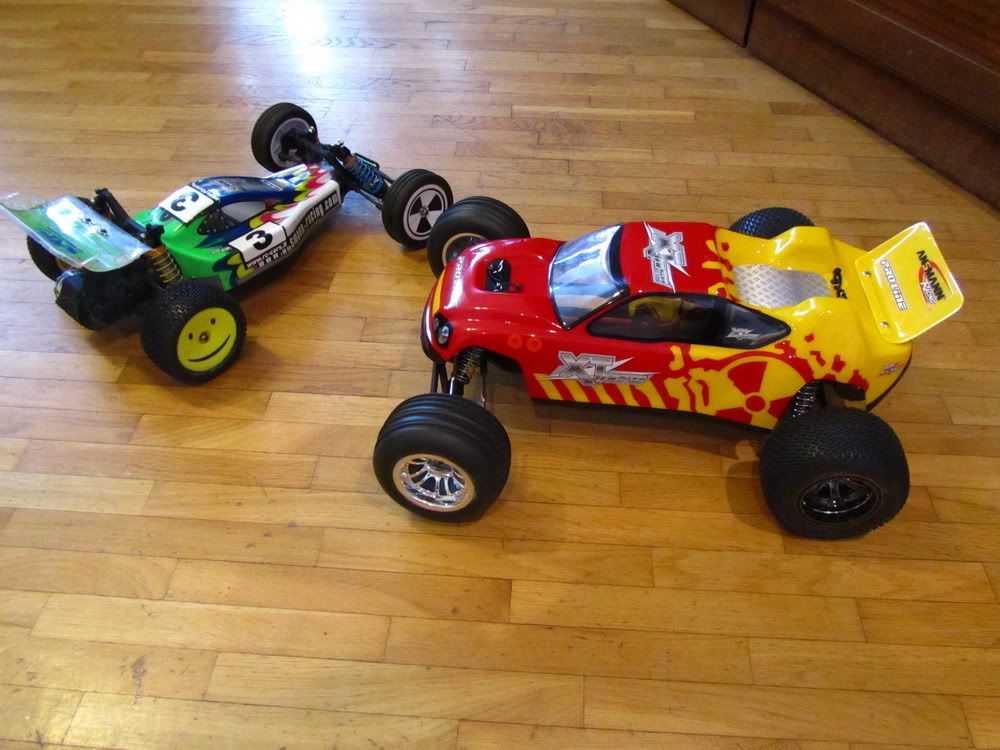 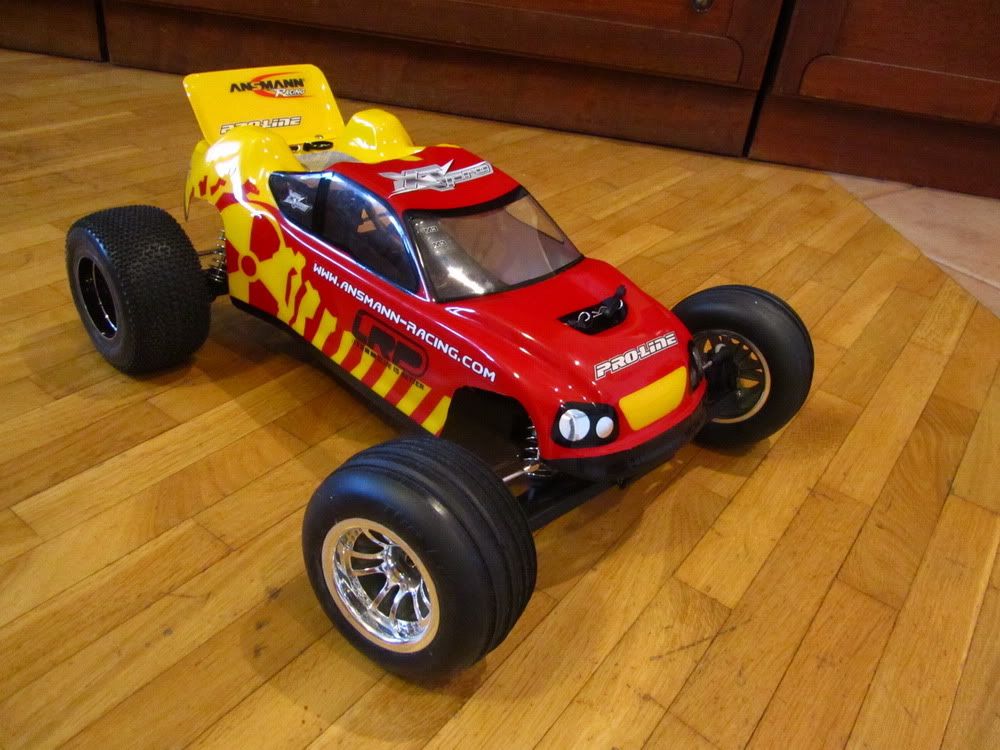 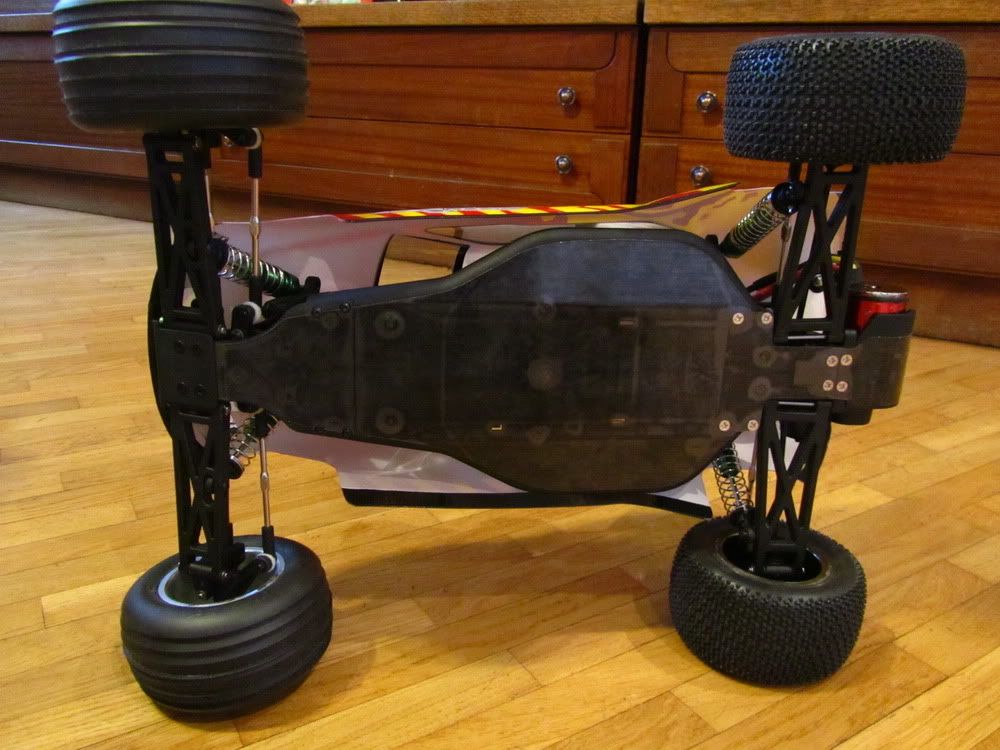 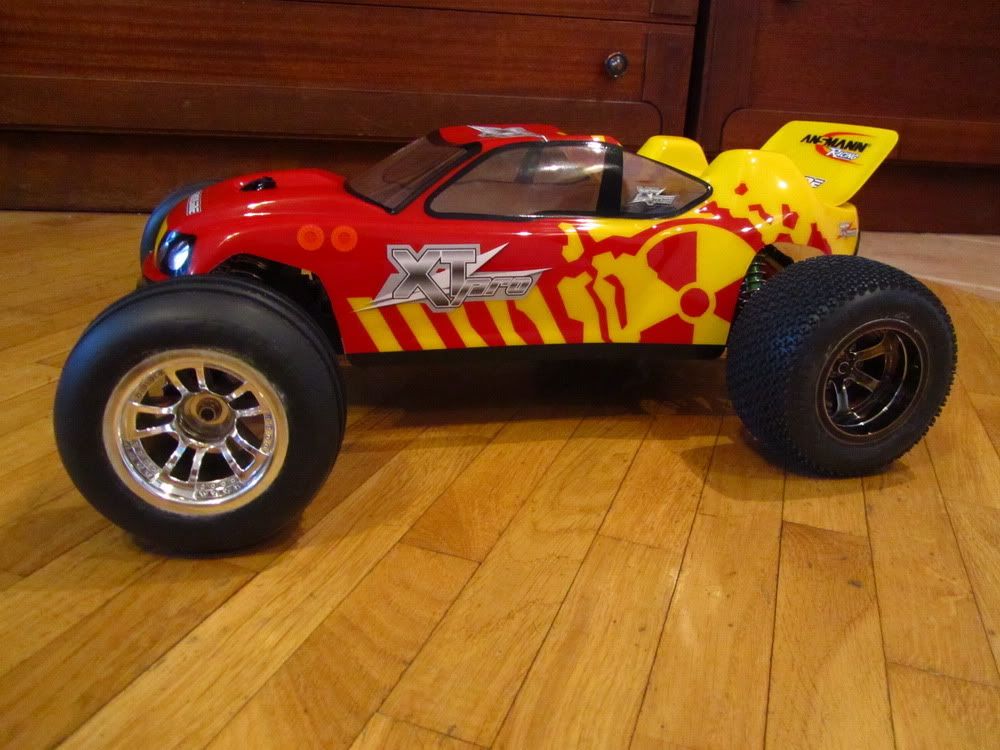 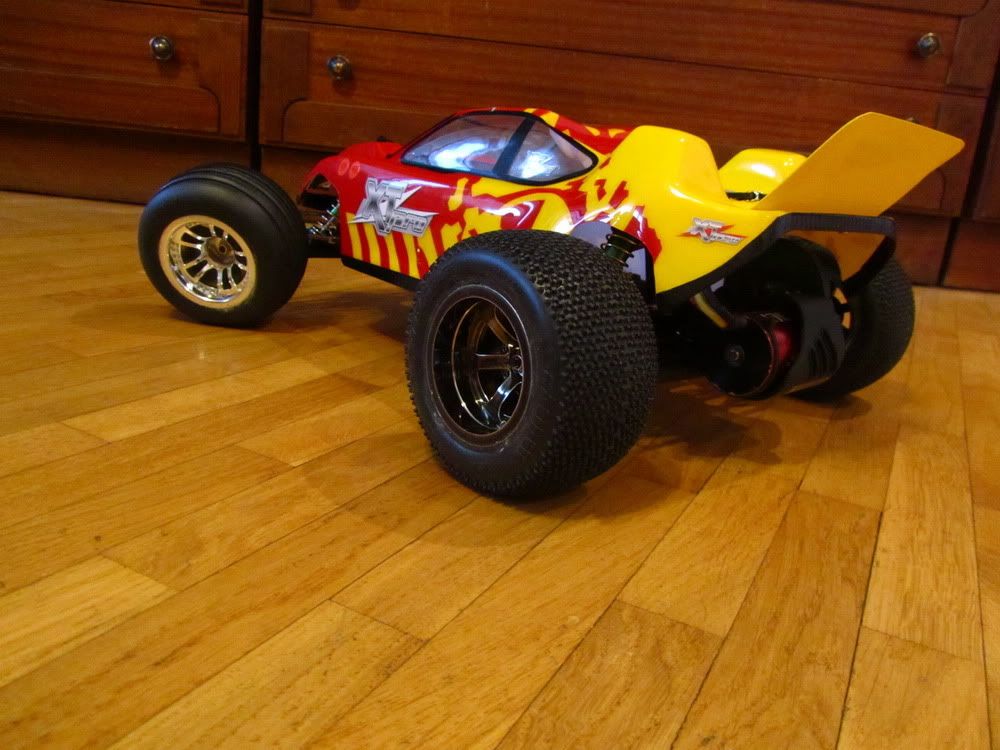 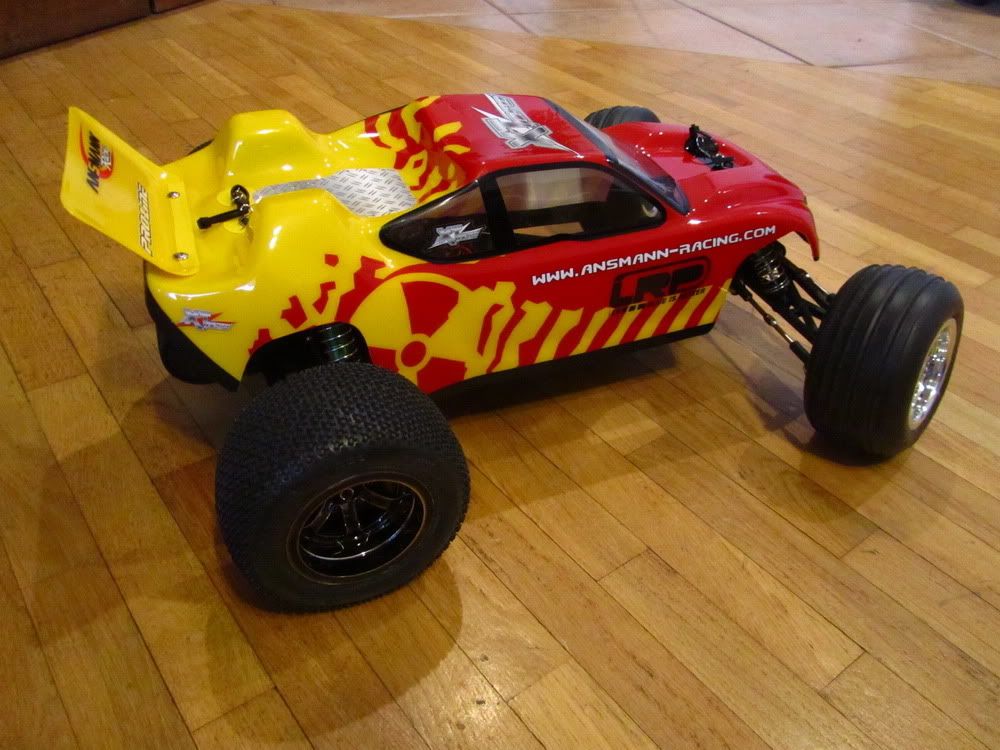 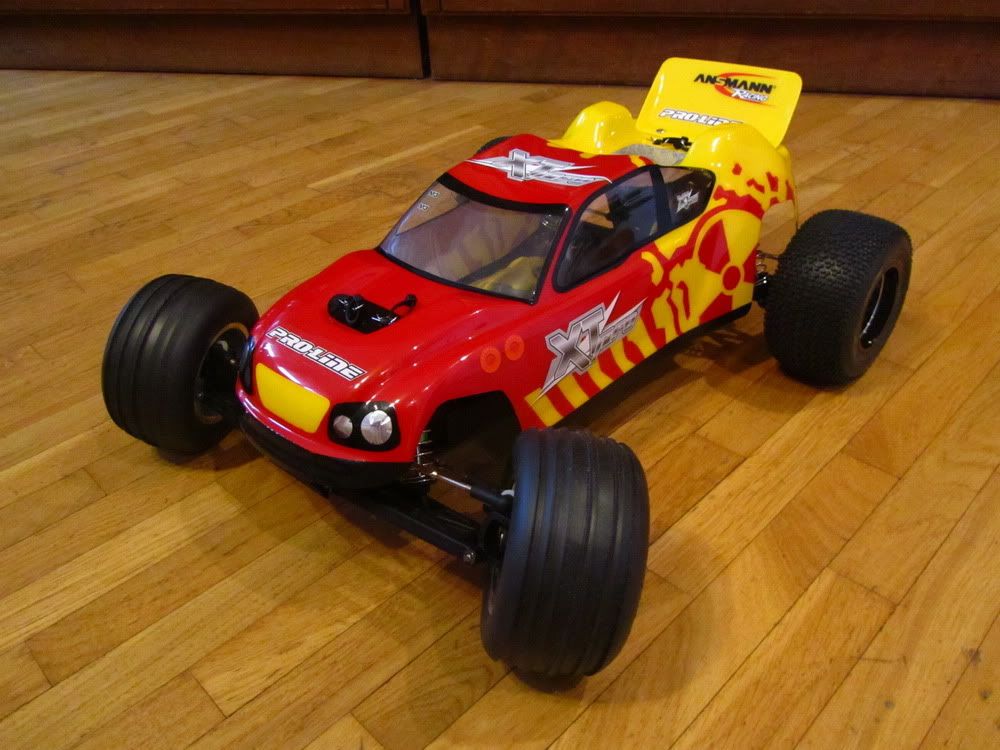
|
|
#14
|
||||
|
||||
|
Wow great pictures

|
 |
| Thread Tools | |
| Display Modes | |
|
|